
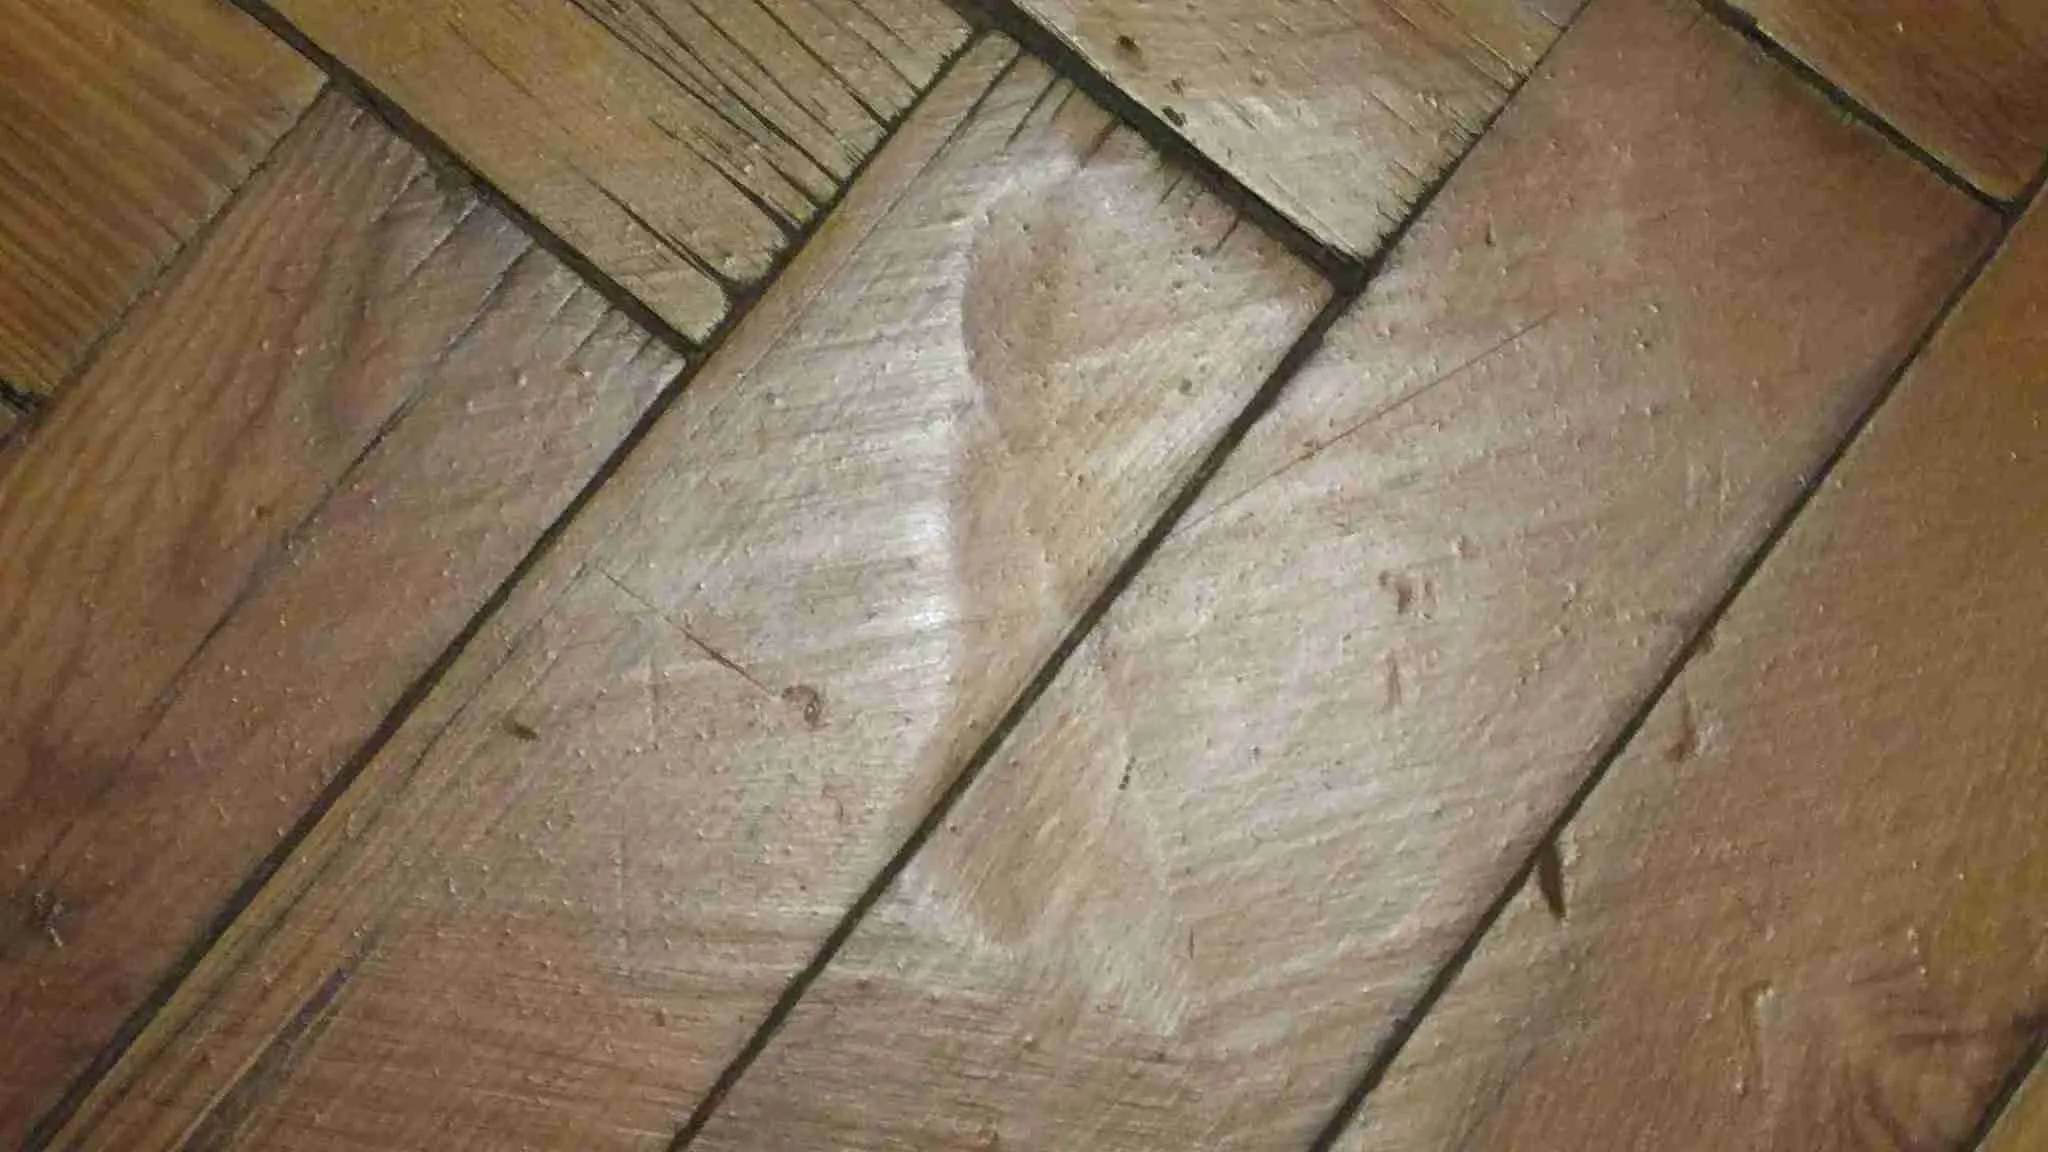
This museum is not a collection of anecdotes. These are real failures in parquet and solid wood flooring that we have found on site: degraded finishes, moisture, aggressive sanding, badly done filling, lack of protection and decisions that condemn a floor that could have been restored.
The point is to read the defect before deciding. A whitish floor is not always dirty. A dark stain does not always come out with sanding. An open joint should not always be filled. And an old board floor should not be removed without checking the thickness, stability and value of the wood.

How to read a defect in parquet
Before talking about a quote it is worth separating four layers: wood, subfloor, preparation and finish. If you only look at the surface, you risk sanding a problem that comes from below or finishing over contamination.
- Wood: species, usable thickness, cracks, biological attack, burns, stains and deformation.
- Subfloor: moisture, movement, loose pieces, battens, adhesive or screed.
- Preparation: sanding, vacuuming, filling, sealer, compatibility between products and timing.
- Finish: finish product, oil, sheen, spread rate, coats, curing, contamination and maintenance.
That reading decides what to do. Sometimes it is best to sand and refinish; other times, to repair pieces, wait for the floor to dry, replace an area or keep a material that can no longer be found.
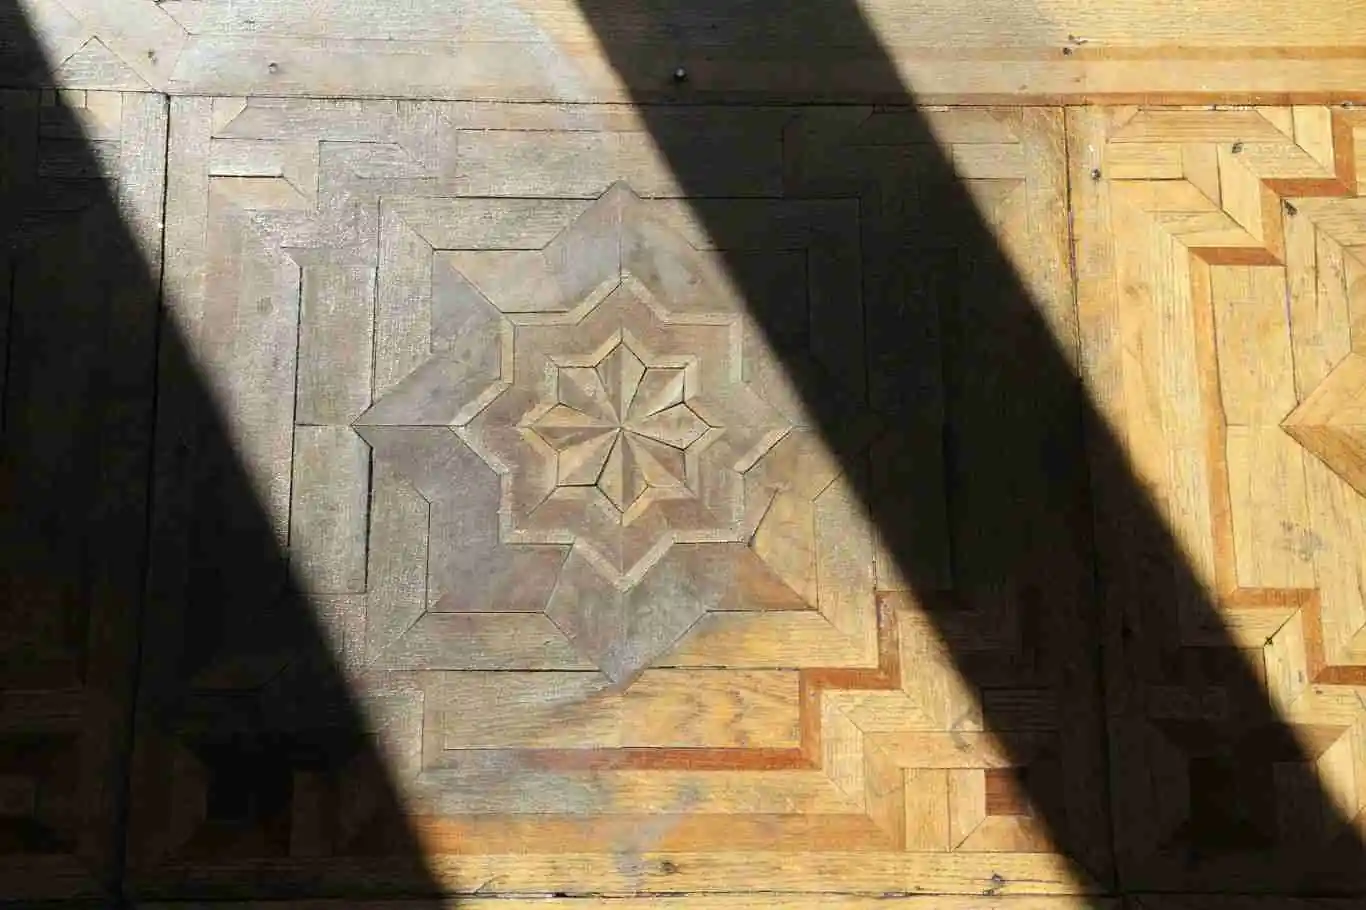
1. White haze and whitening of the finish
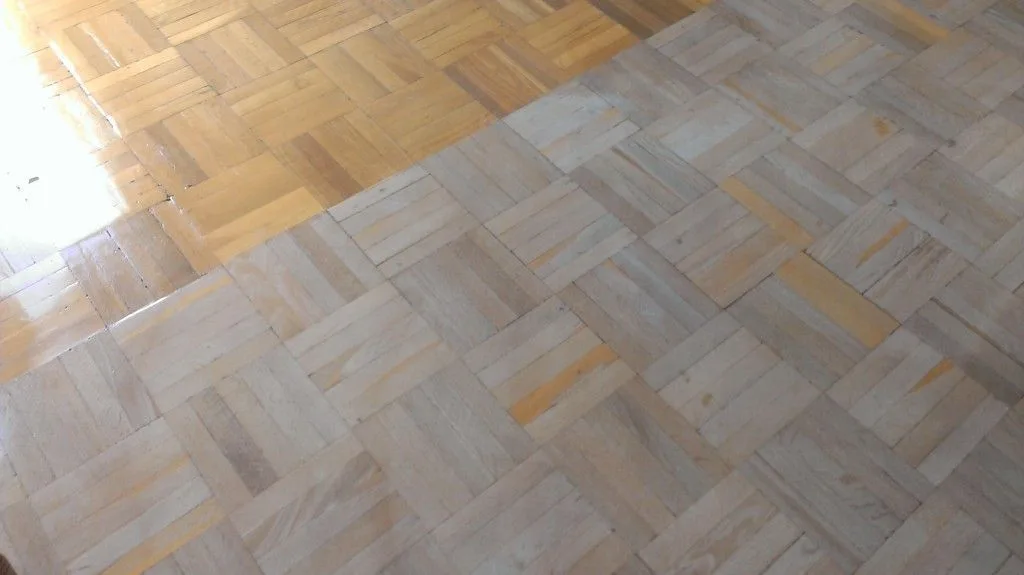
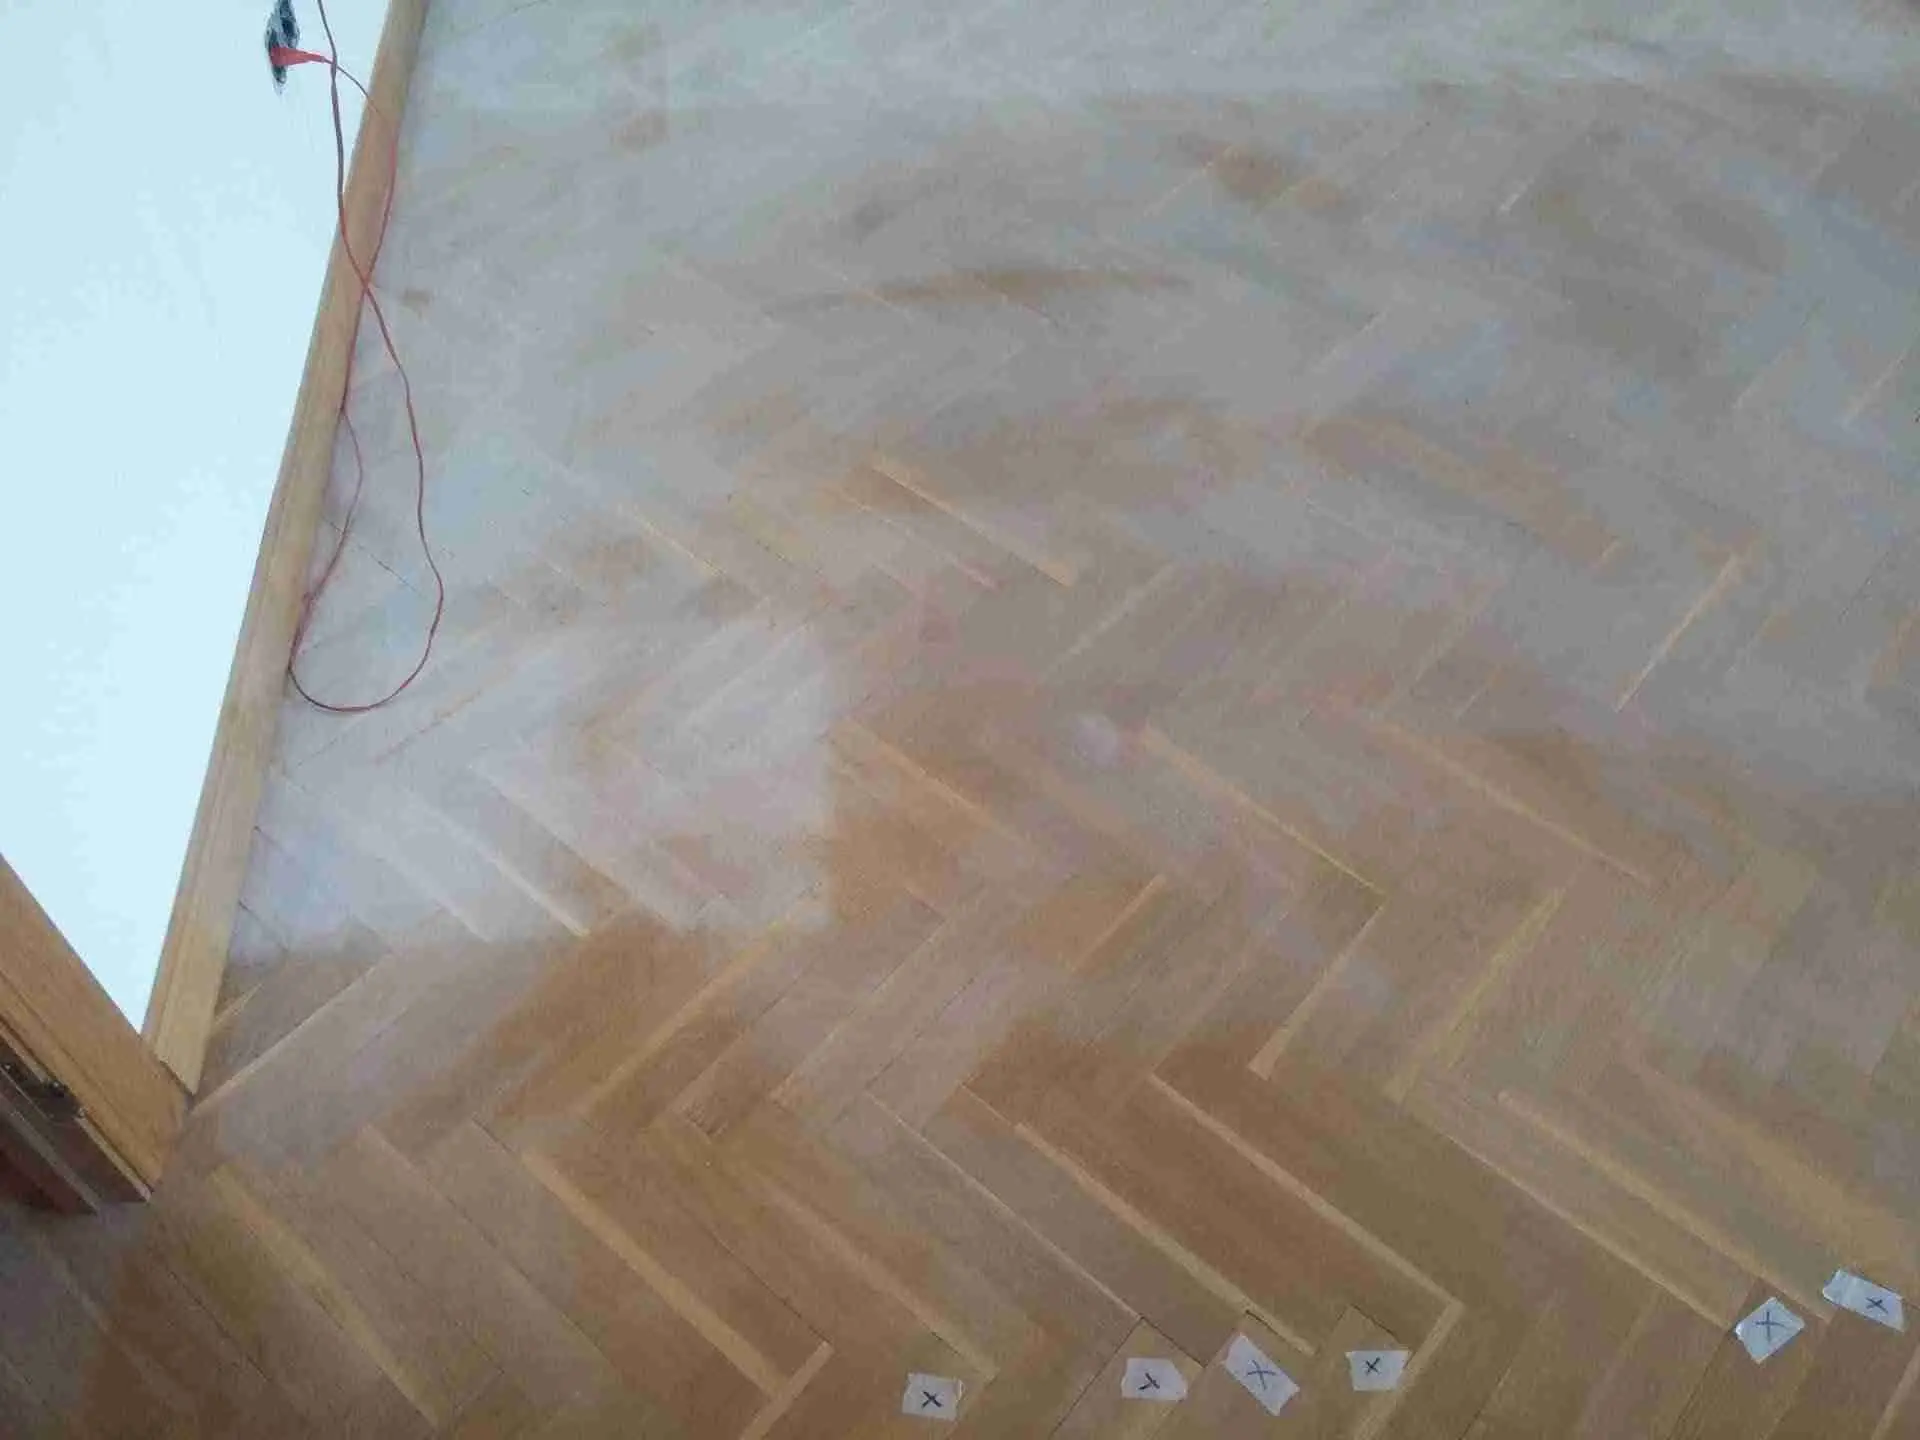
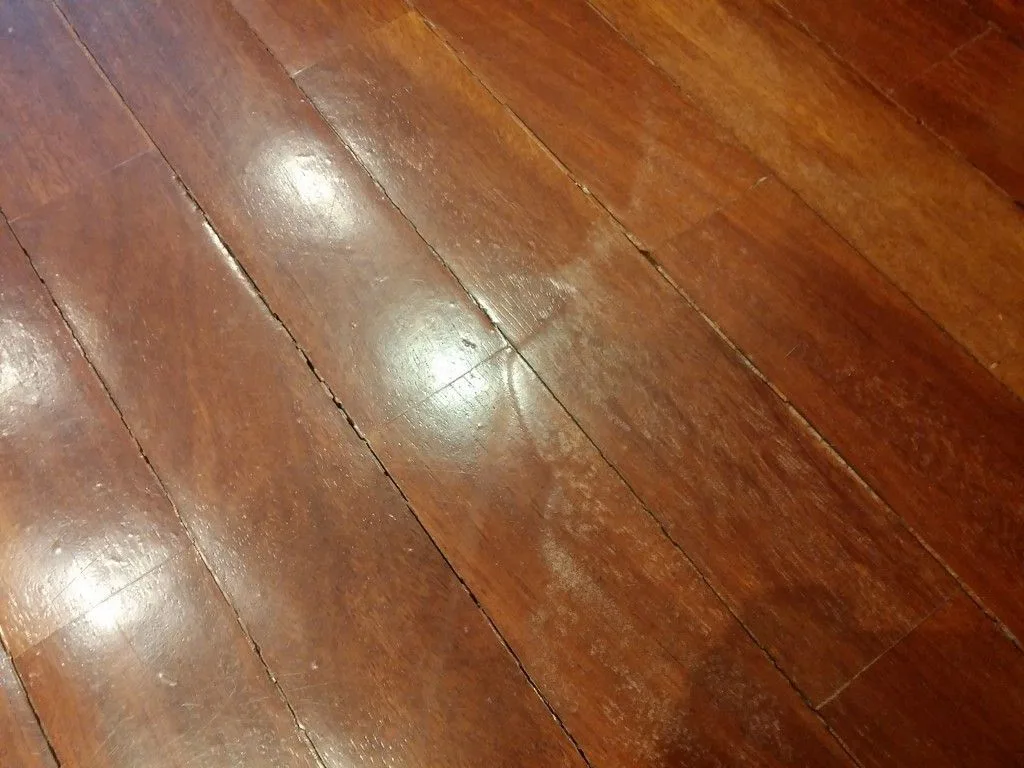
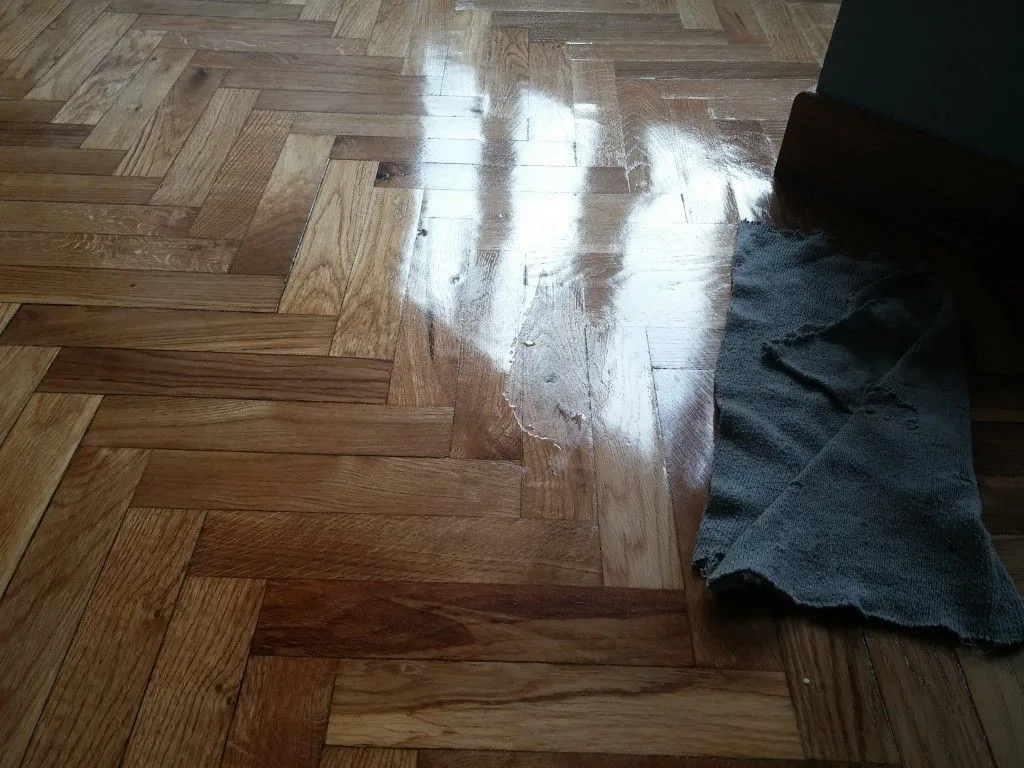
White haze appears when the film loses transparency and leaves a whitish layer. It is common in old finishes, especially urea-formaldehyde, and can also appear because of moisture, incompatibility or poor application.

Treating it as dirt does not fix it. If the film has changed, the real solution is removing the finish, sanding with control and applying a compatible system. For this specific case, see the guide on whitish finish on parquet.
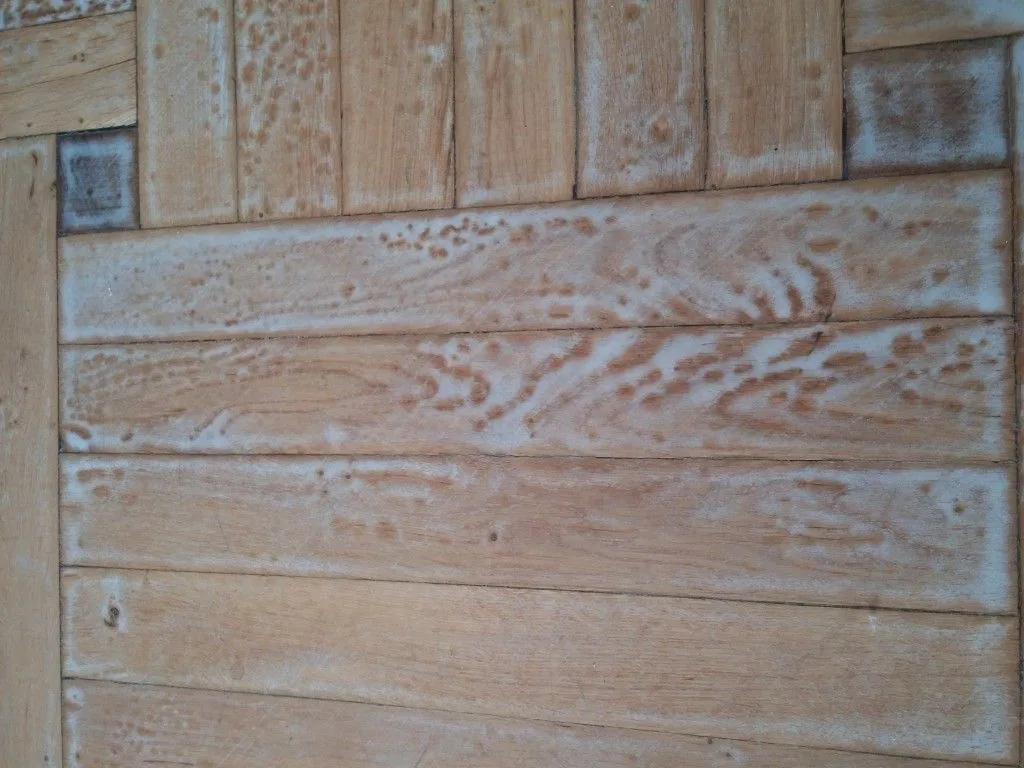
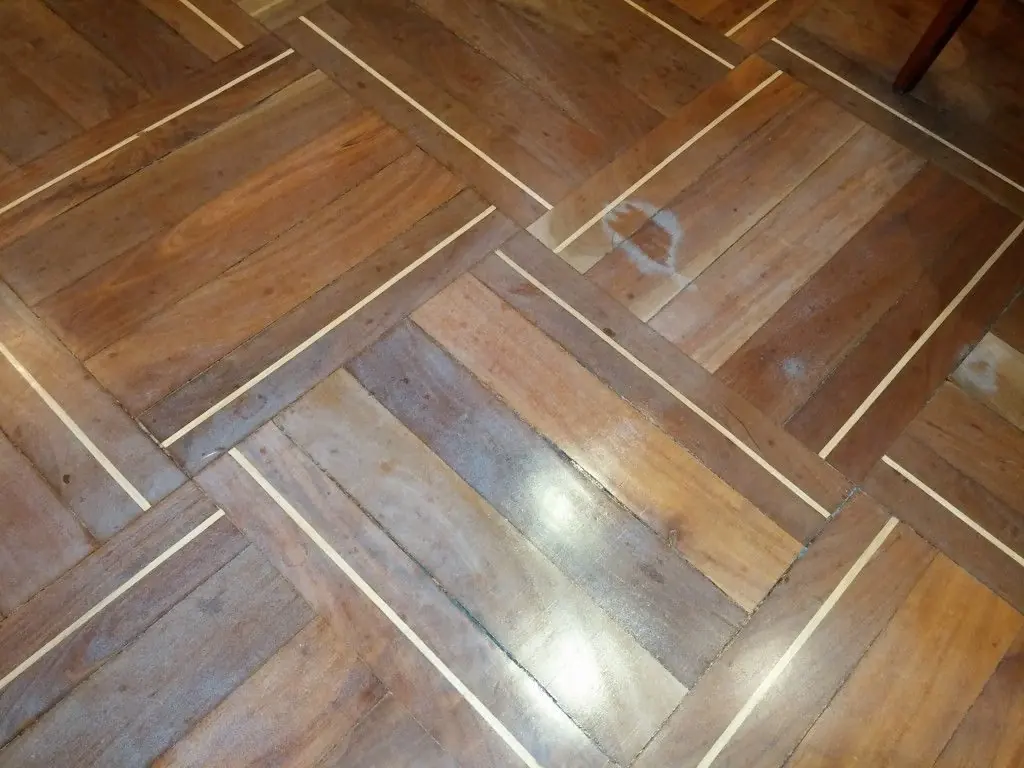

2. Grease stains and contamination of the finish
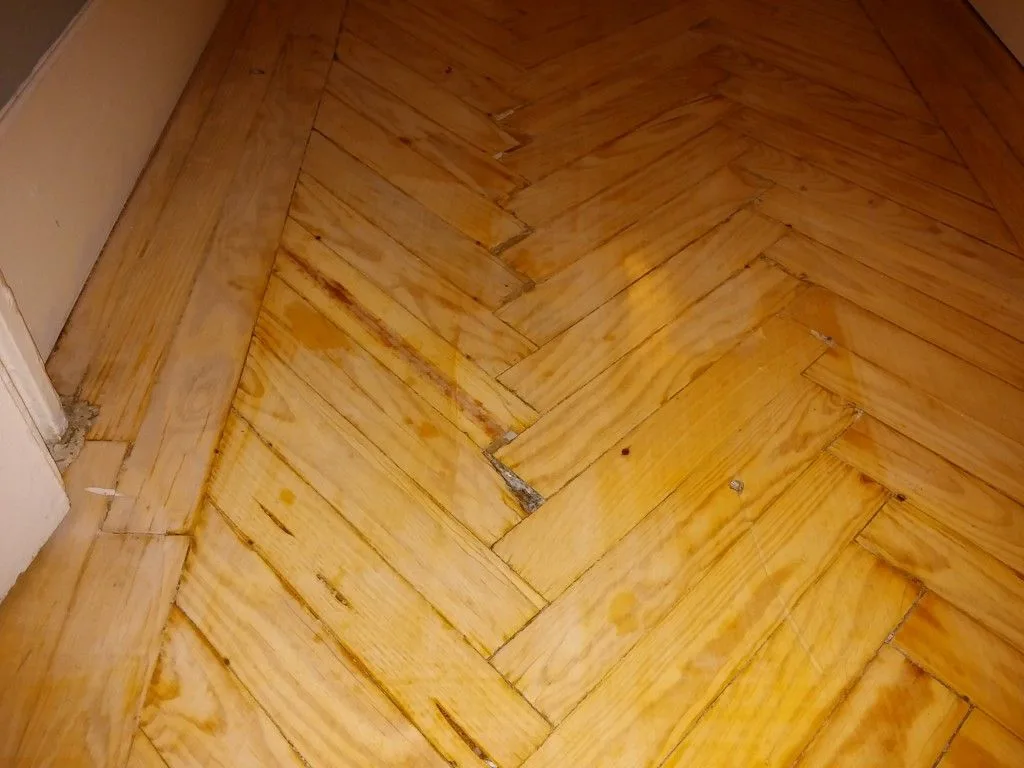
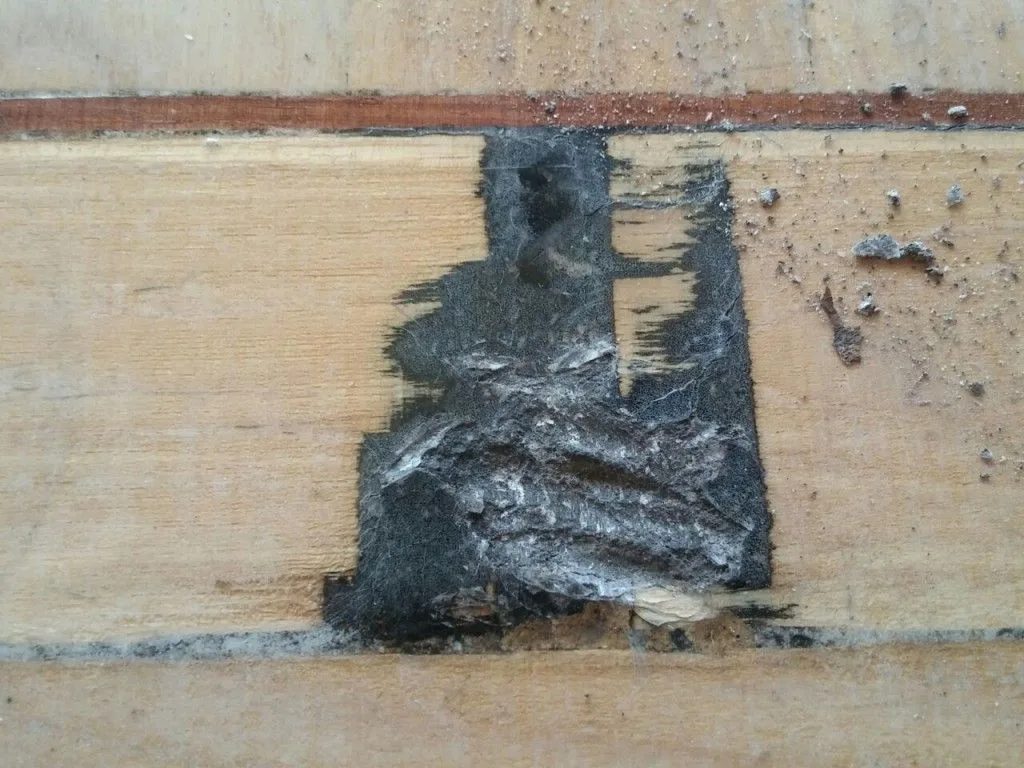
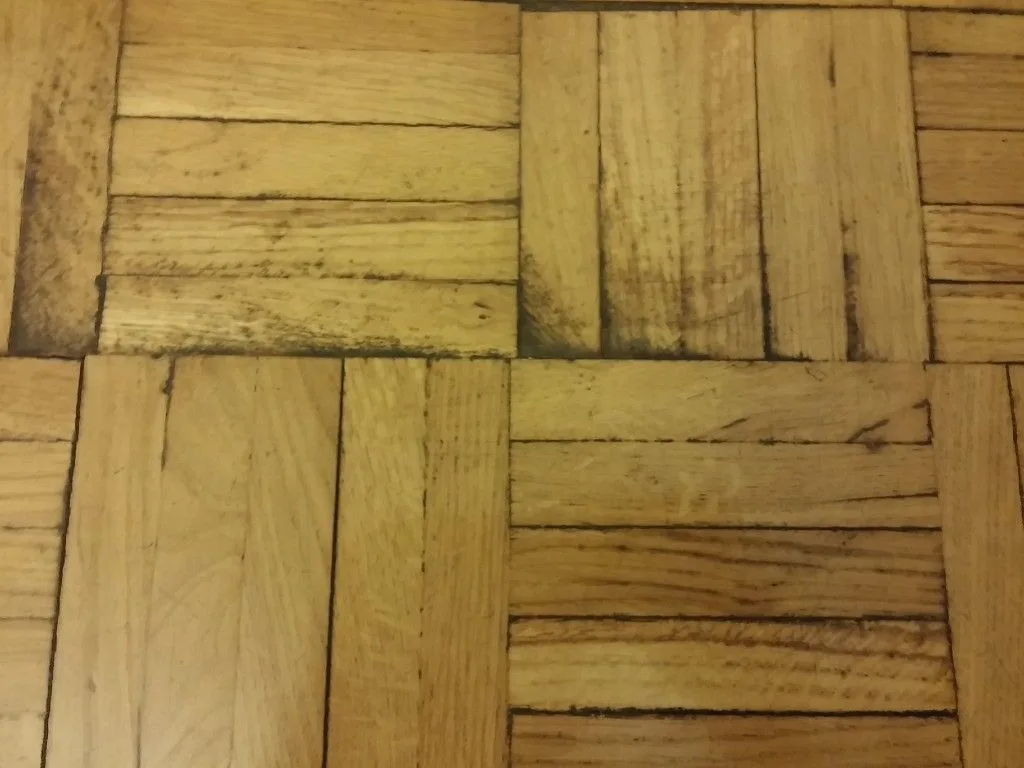
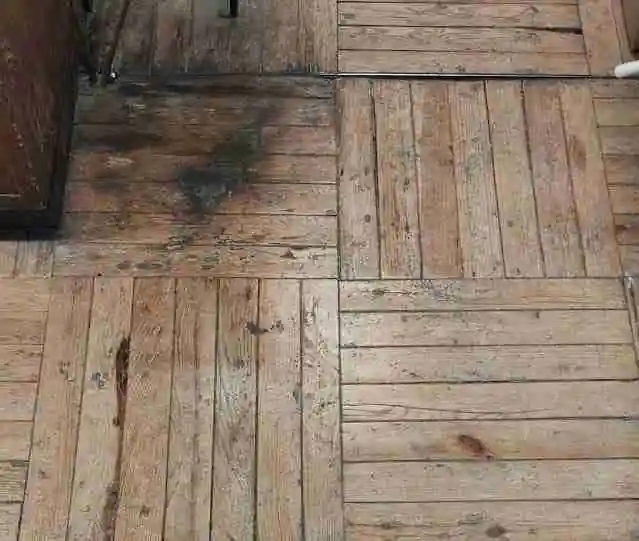
Dark stains in walkways, the kitchen or by the sofa can come from grease, moisture, cleaning products or contamination that has gone through a porous or degraded finish. If it reaches the fibers, it does not always disappear with a light sanding.
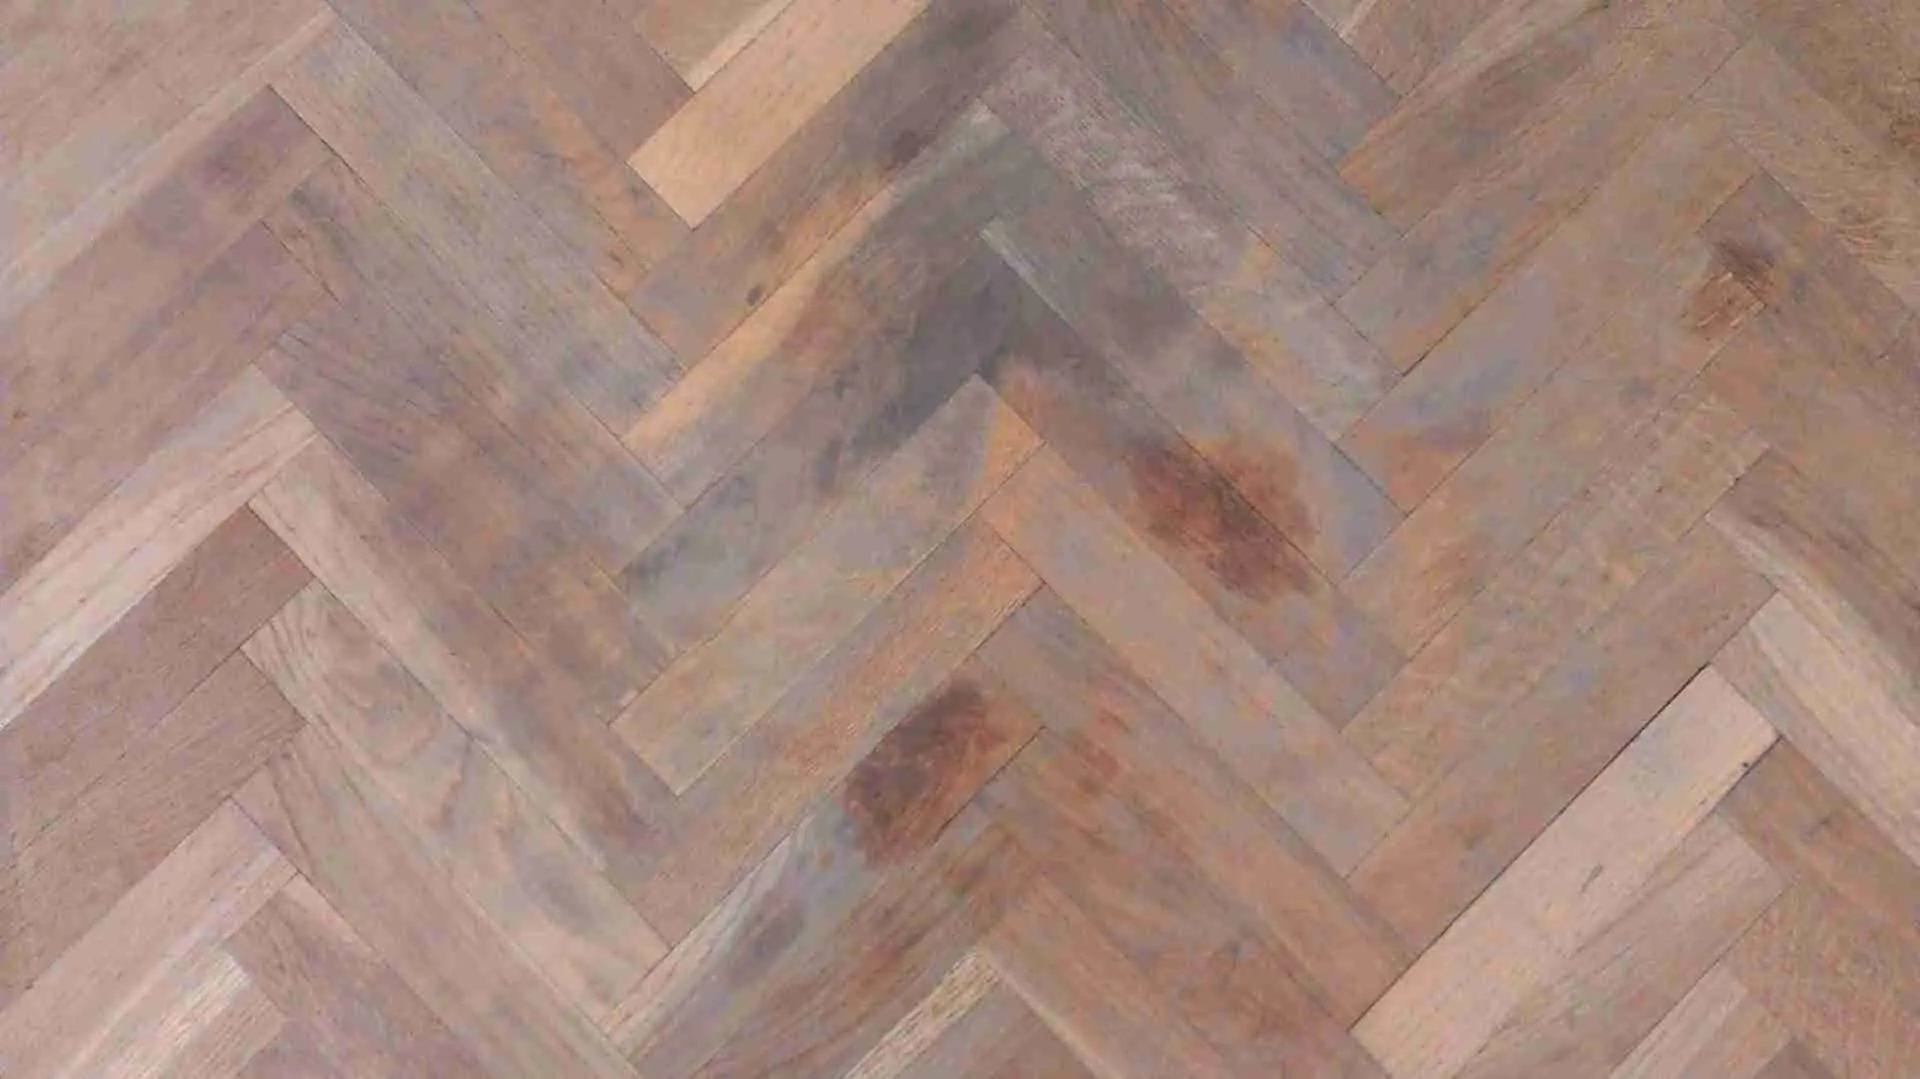

The right decision is to do a test first. The depth of the stain, the contaminants, the compatibility of products and how the floor responds to sanding have to be checked before promising a perfect result.
3. Moisture: it is not fixed with a finish
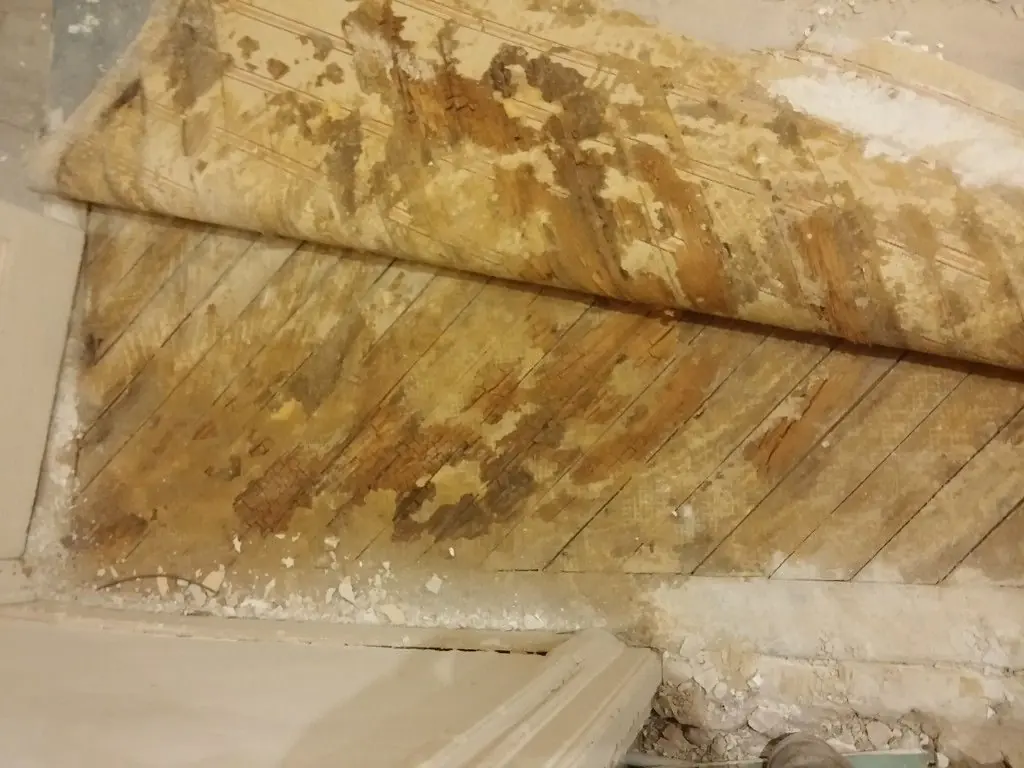
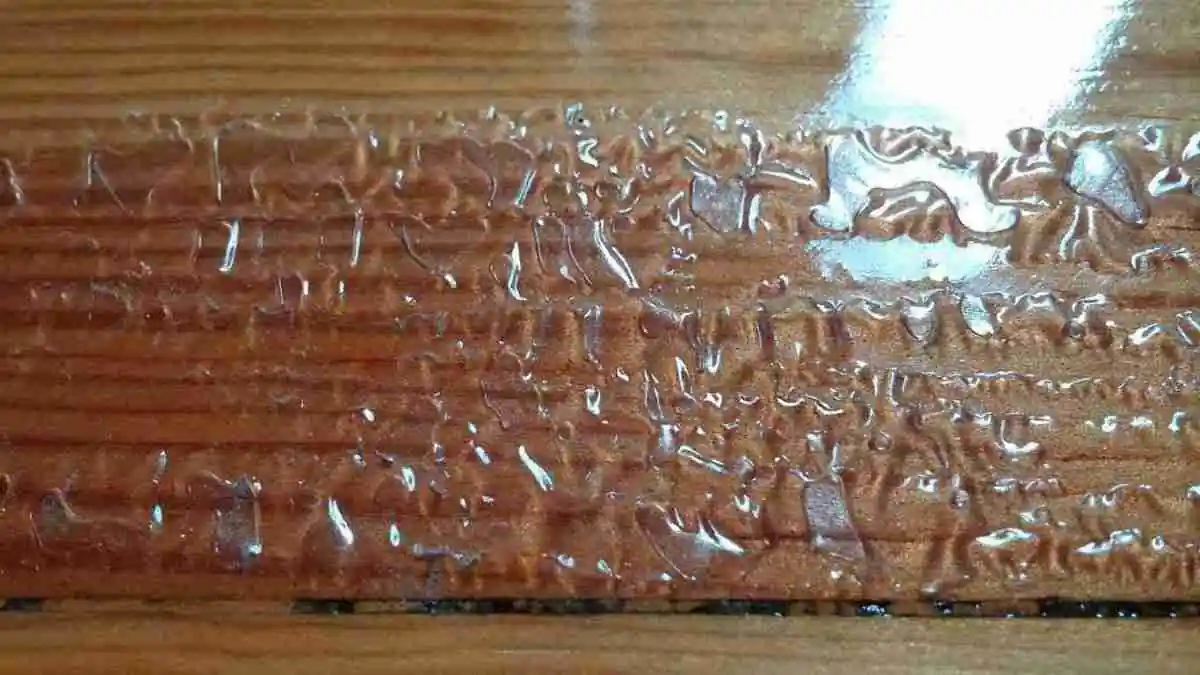
Moisture is one of the most expensive mistakes to diagnose late. If the wood is deformed, separated, blackened or the adhesive has been affected, finishing over it only covers the symptom for a short time.
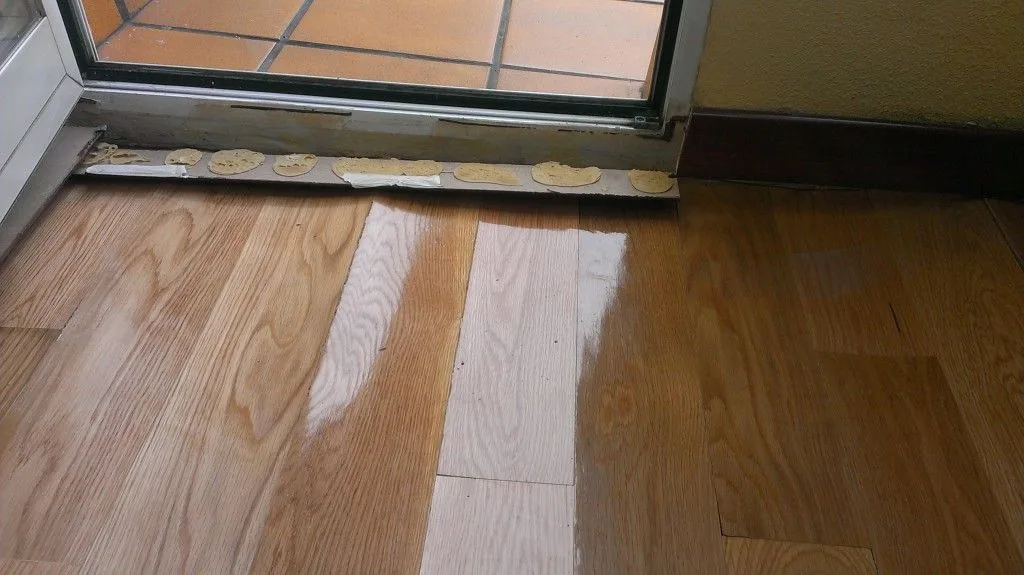
With light moisture, drying, stabilization and restoration may be enough. With deep moisture it may be necessary to lift pieces, replace wood or rebuild the subfloor. The specific guide is in parquet and moisture.
4. Woodworm and wood-boring insects
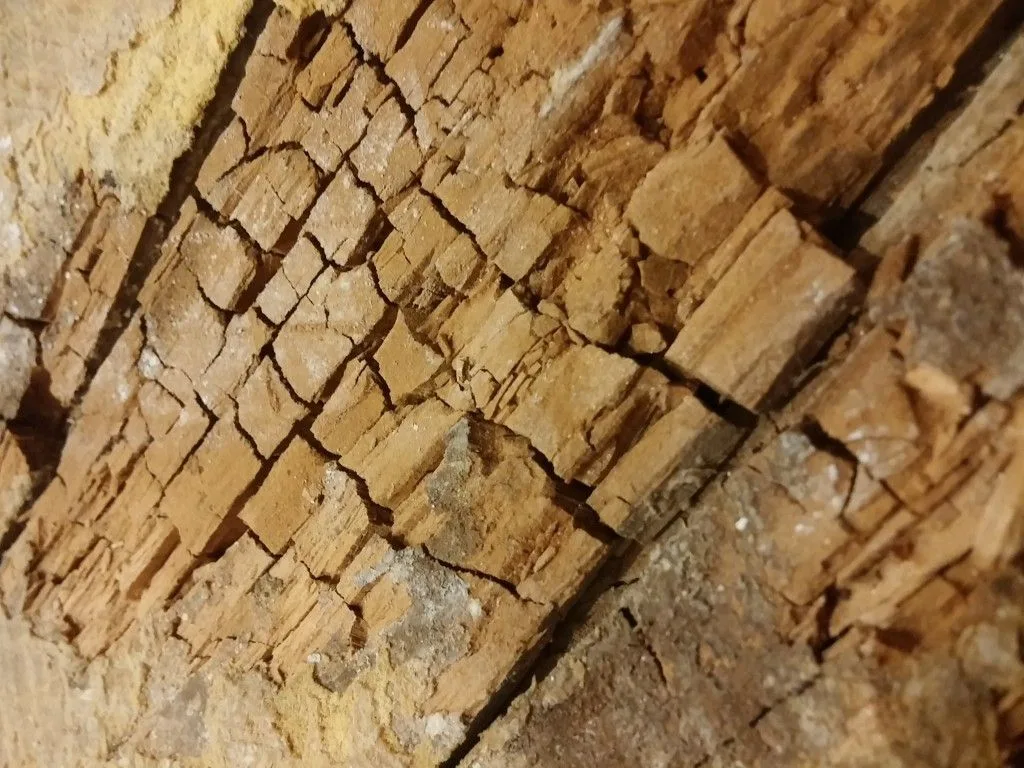
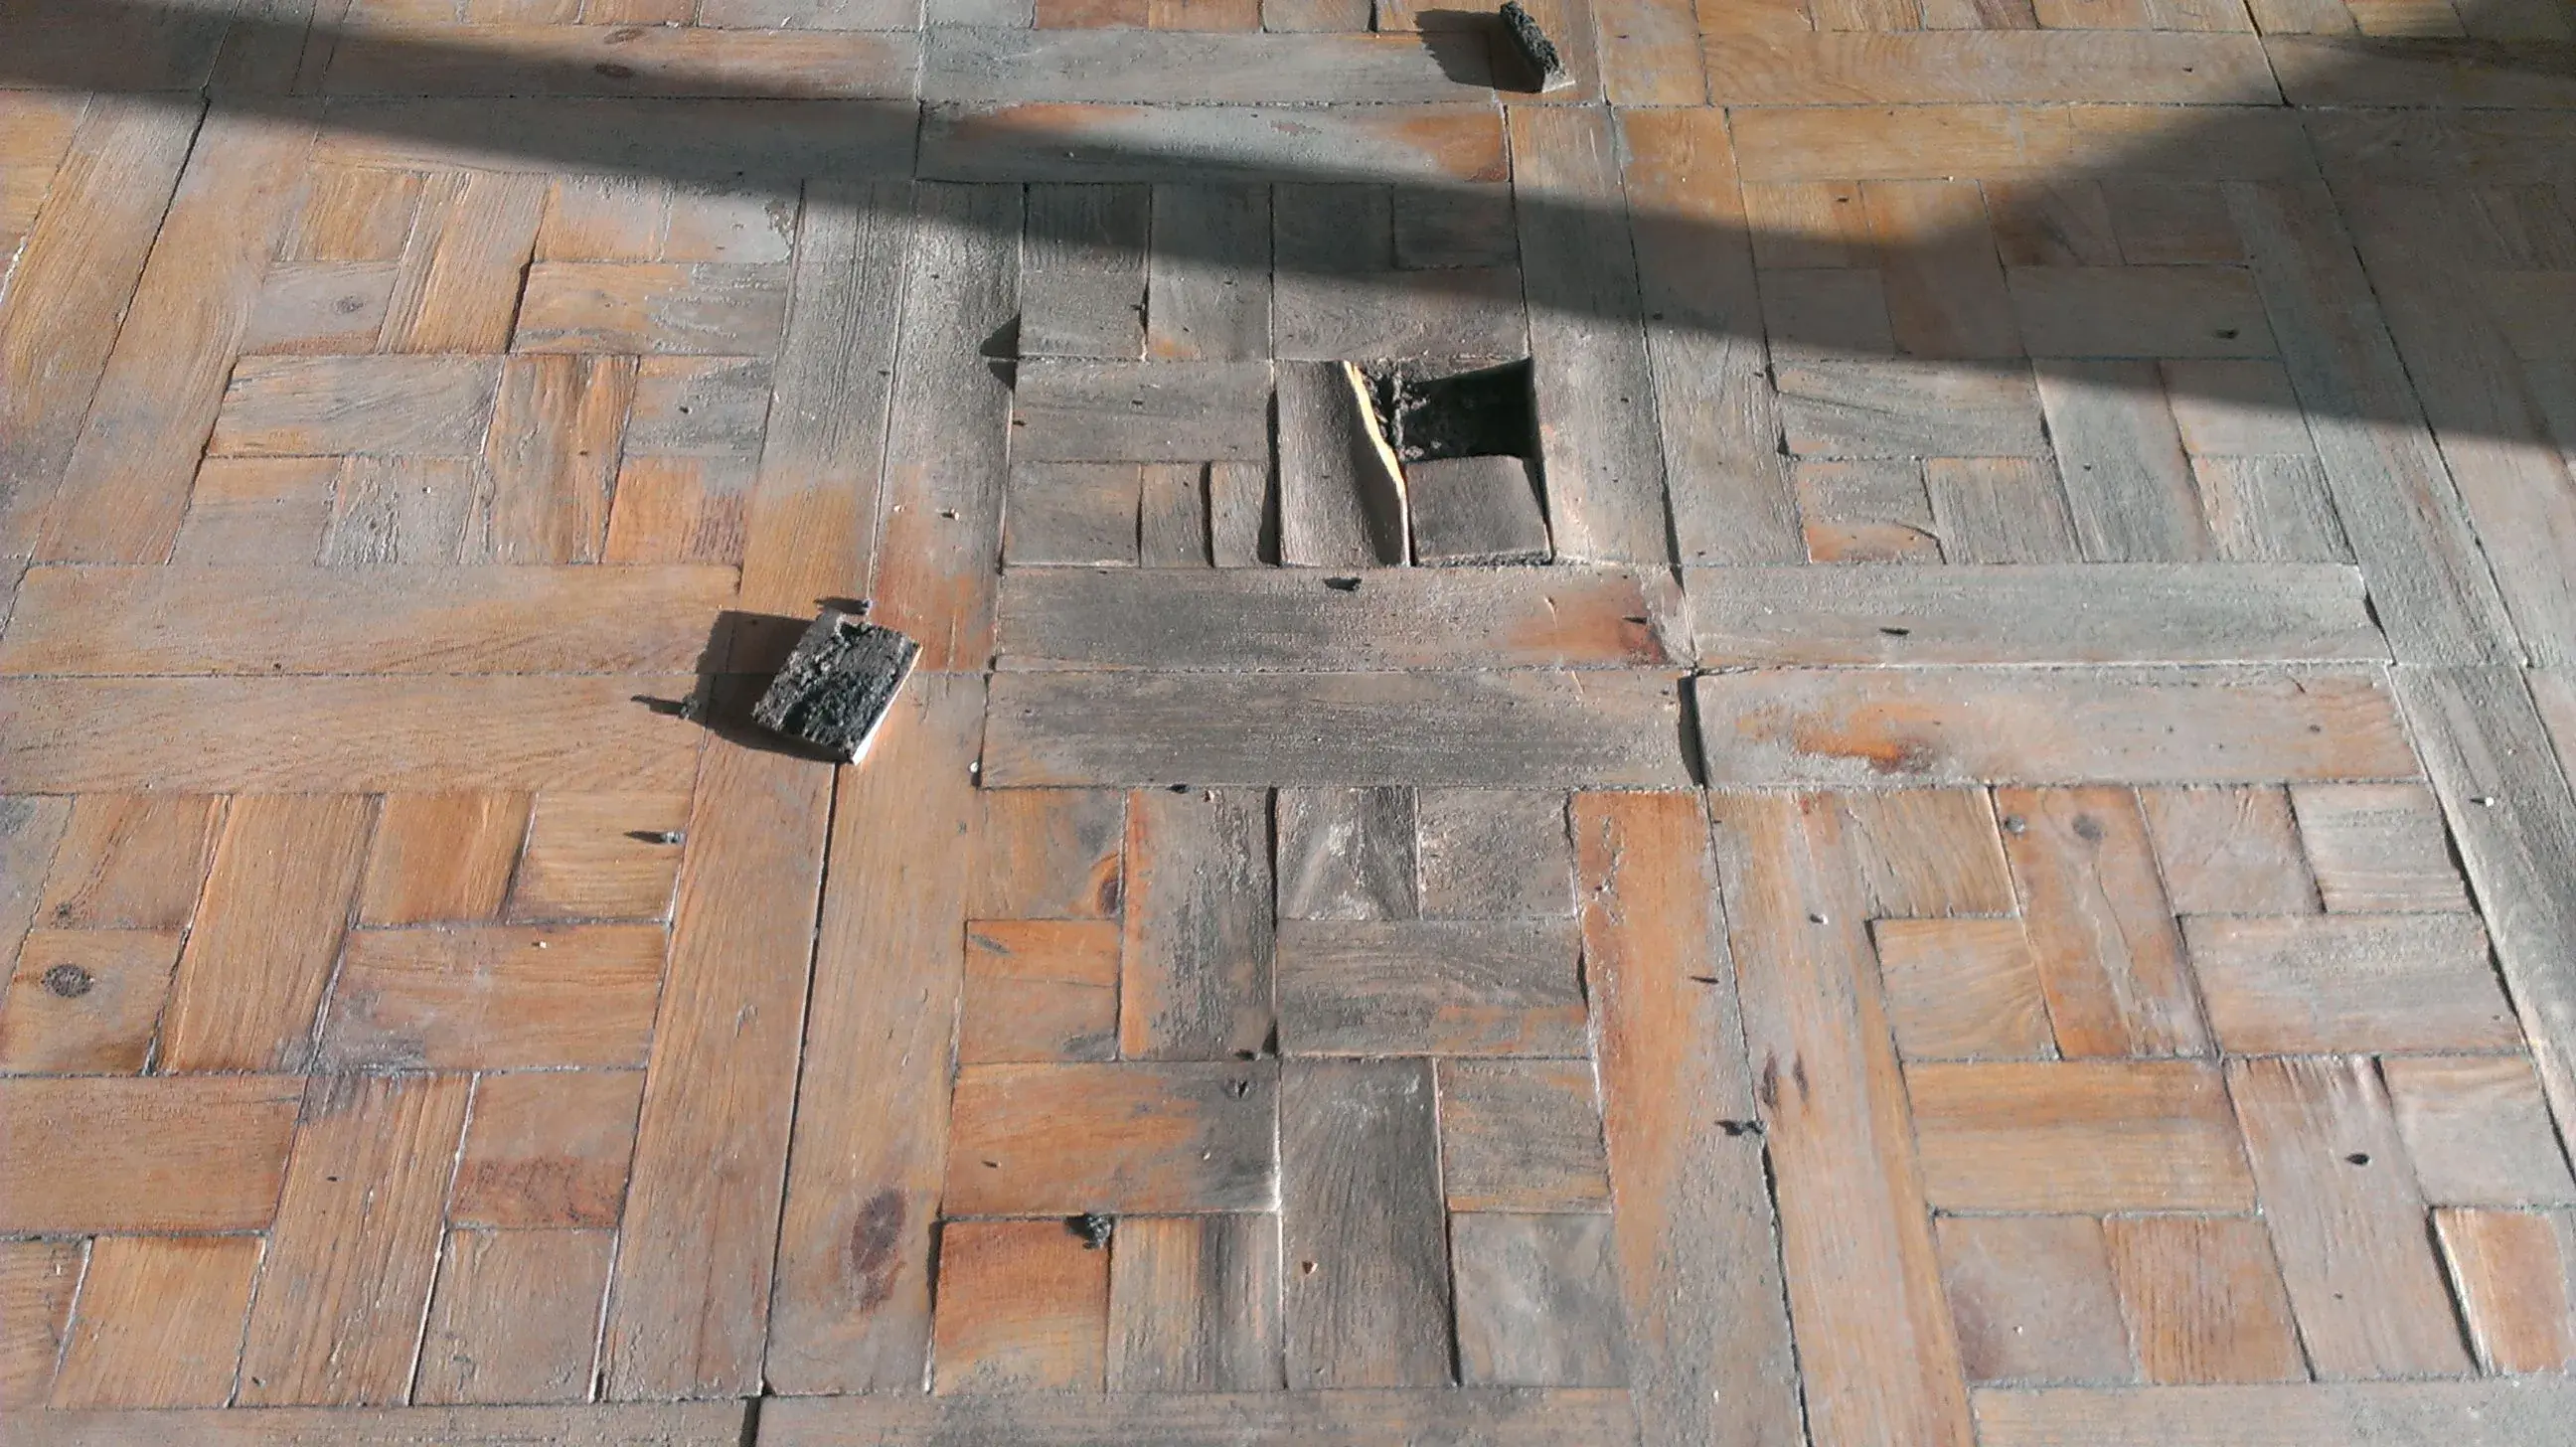
Woodworm is not assessed only by the visible holes. You have to check whether the attack is active, its depth, the strength of the piece, the type of wood and whether the problem affects the battens or only the visible layer.

Filling holes and finishing without a diagnosis does not solve it. First we confirm whether the attack is active and how far it reaches, including in the battens; whatever has lost strength is replaced.


5. Common damage: scratches, sun, chemicals and urine
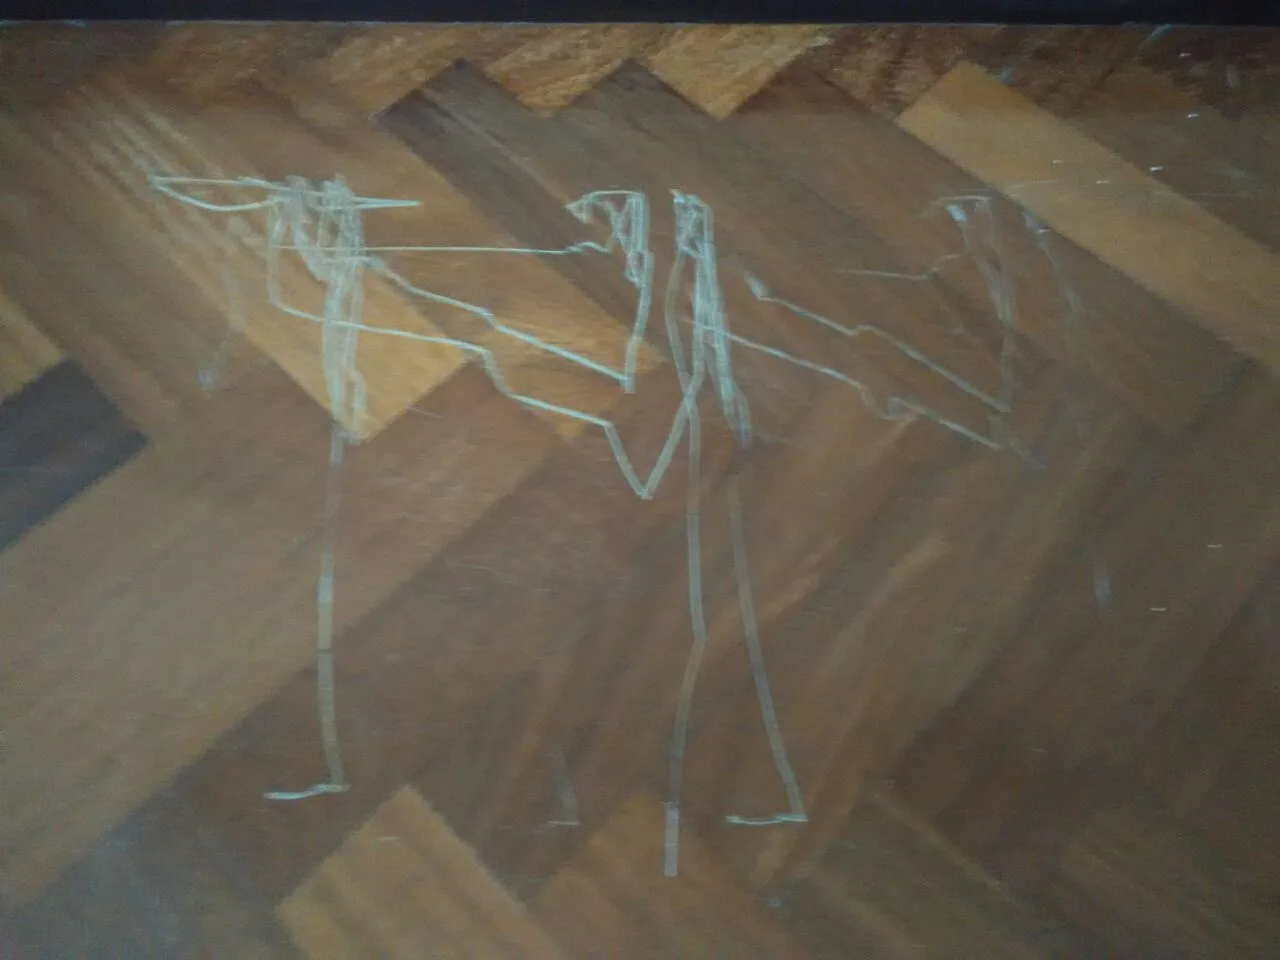
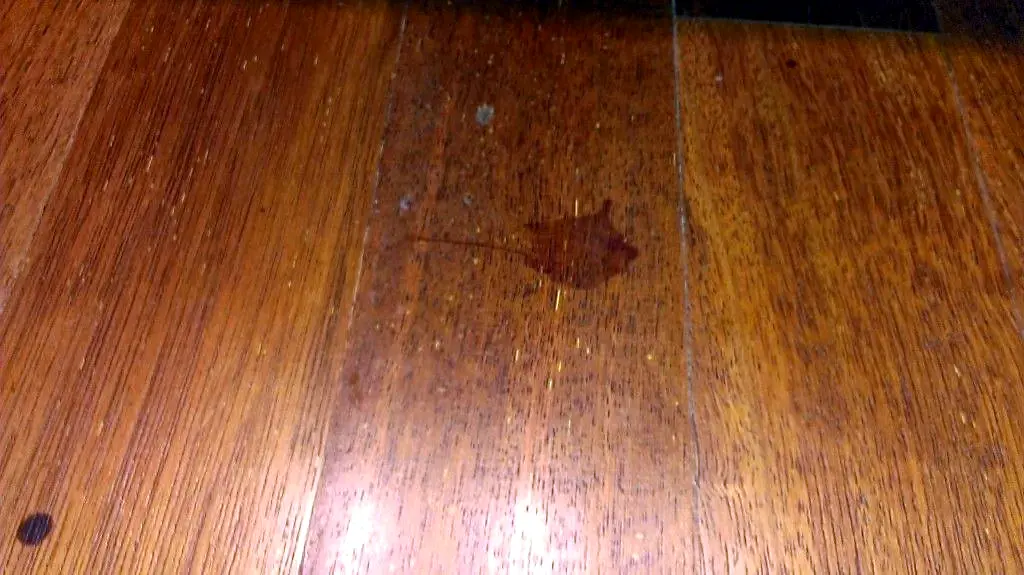
Some damage does not come from poor work but from use: deep scratches, furniture leg marks, sun fading, pet urine, nail polish remover or harsh products. The key is knowing whether they have affected only the finish or the wood as well.




6. Poor sanding: marks that stay under the finish
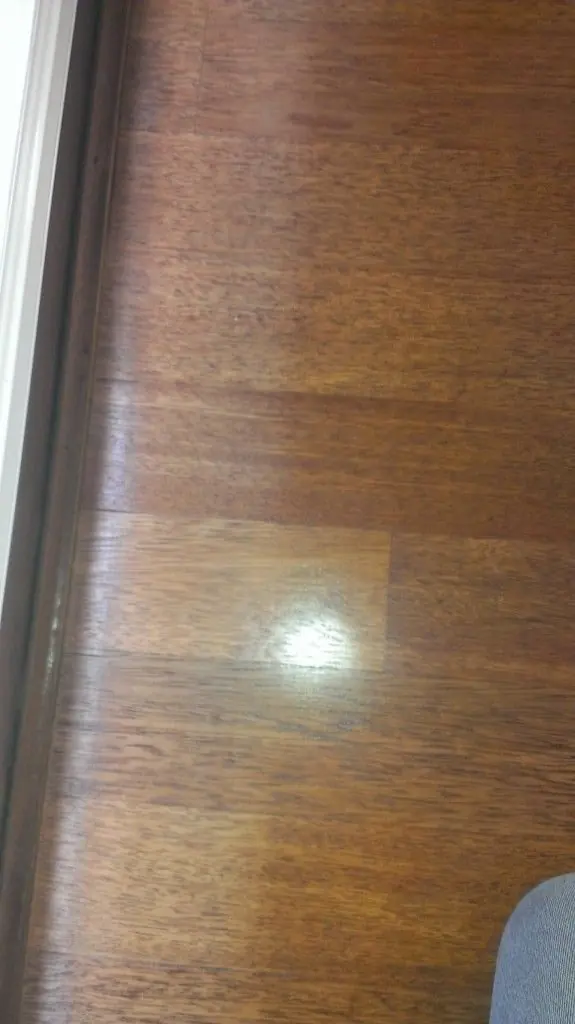
Aggressive sanding can leave stop marks, gouges, waves, edger marks or coarse-grit scratches. The finish does not hide them: on the contrary, sheen and side lighting make them more visible.
On floors with little usable thickness, every pass counts. That is why it is worth knowing how many times a parquet floor can be sanded before repeating the work.
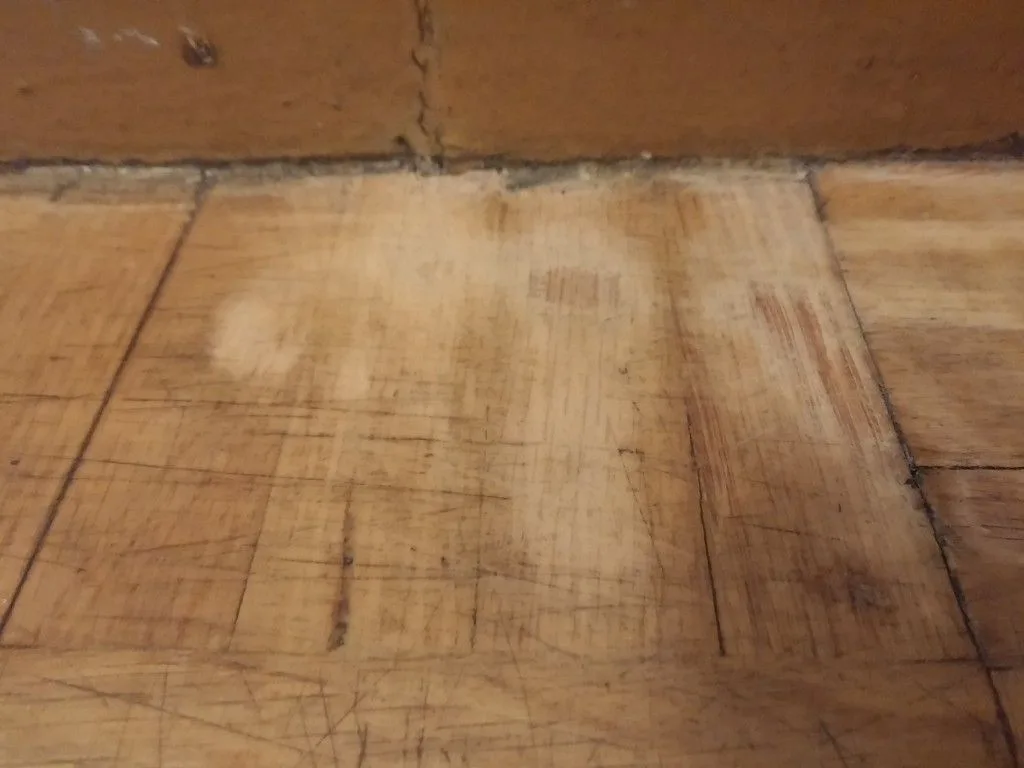
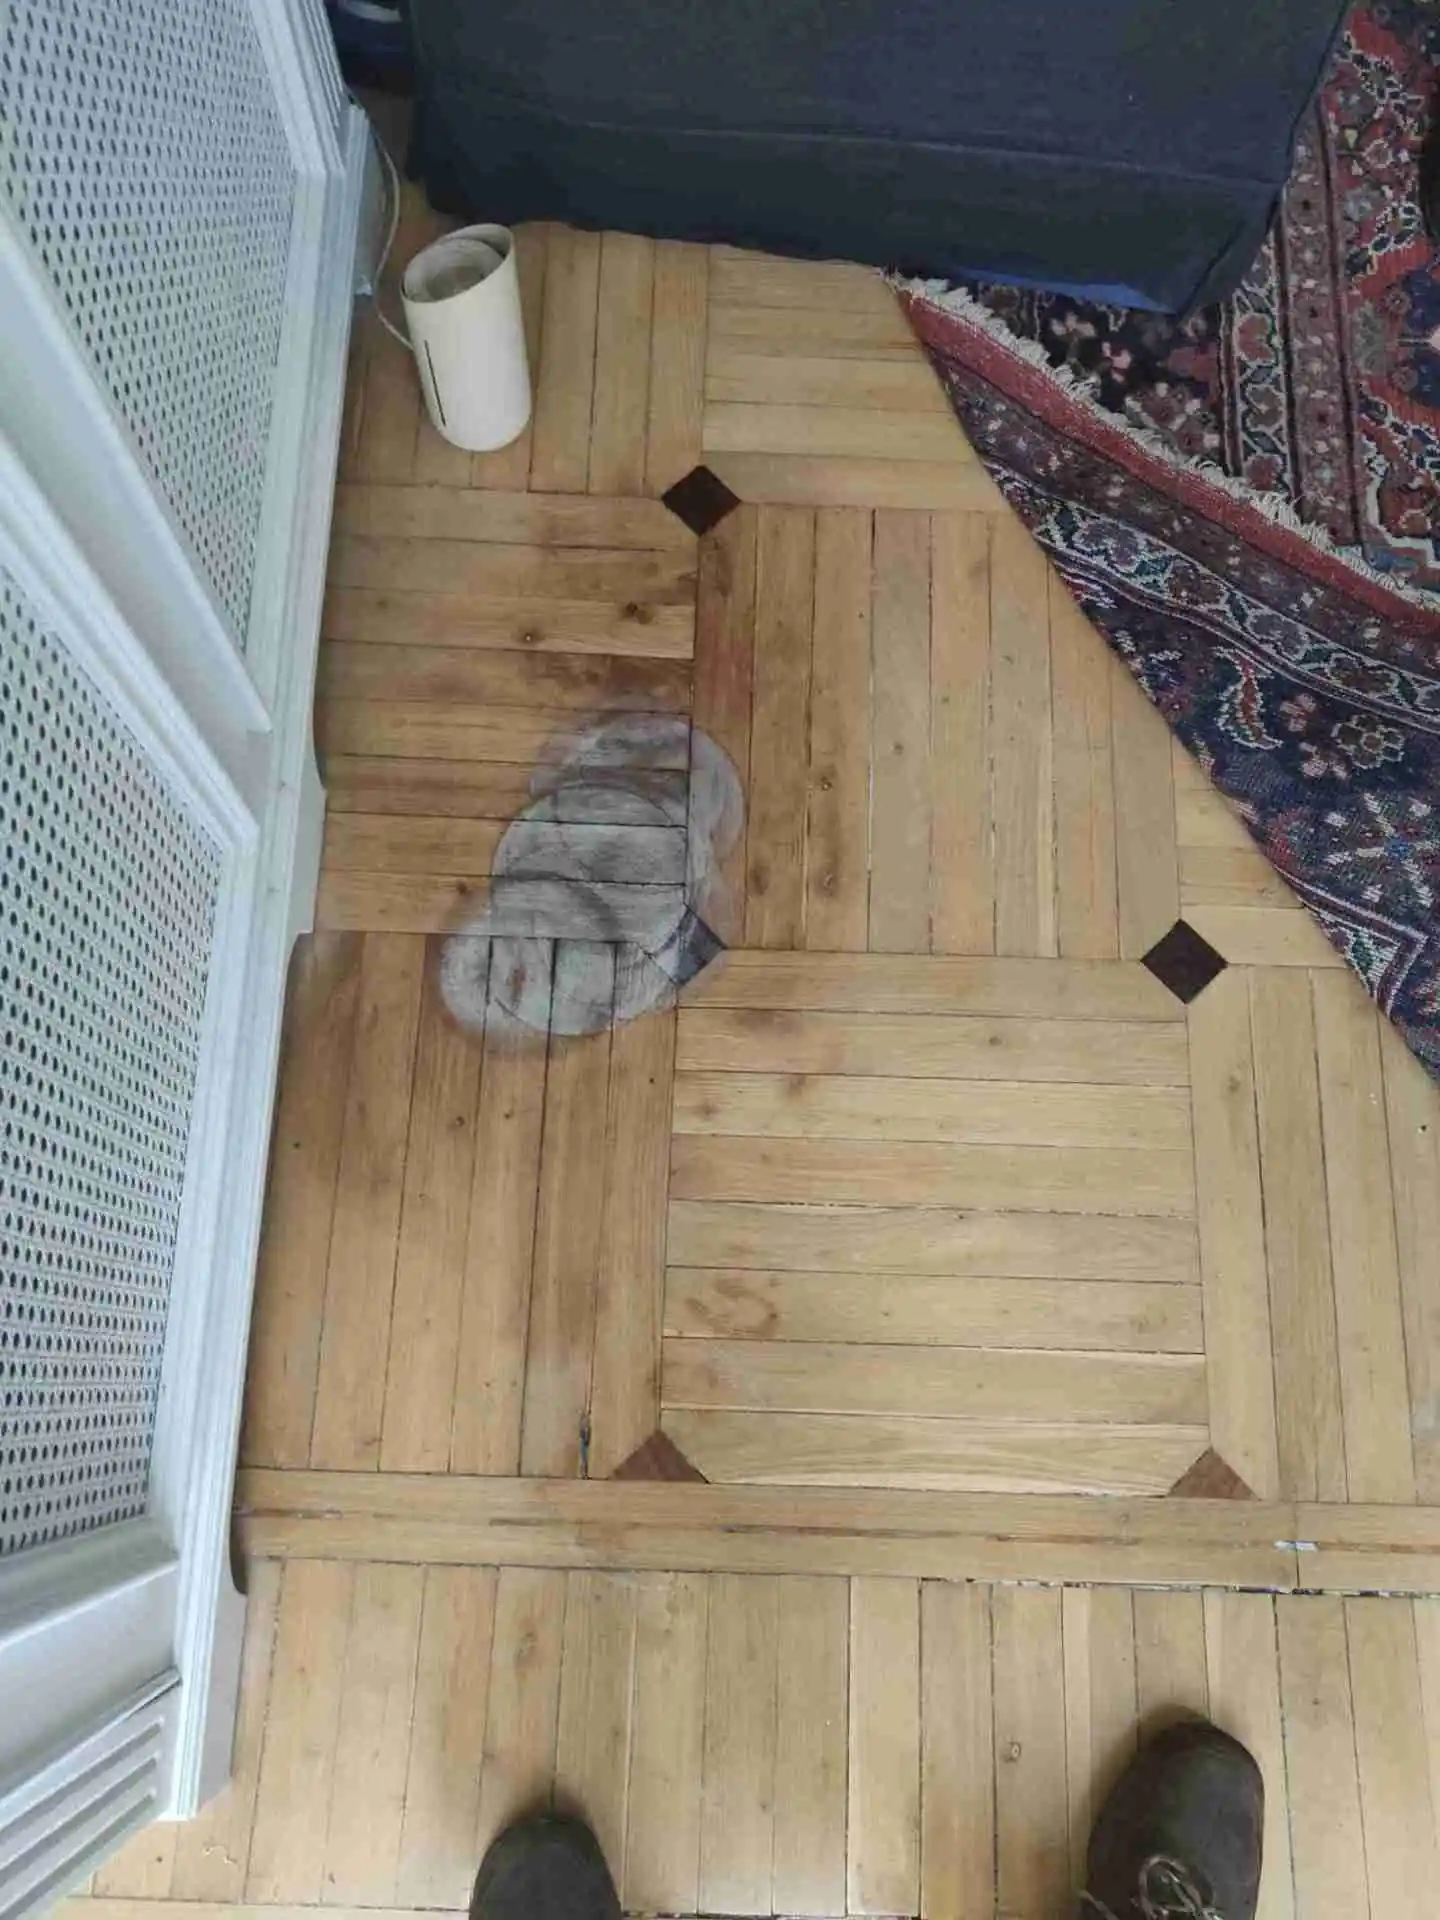
A stop mark happens when the machine stops with the drum down, for example when changing direction. The abrasive keeps working on the same spot and leaves a curved dip like the one in the photo at the top.

7. Badly done filling and puttying
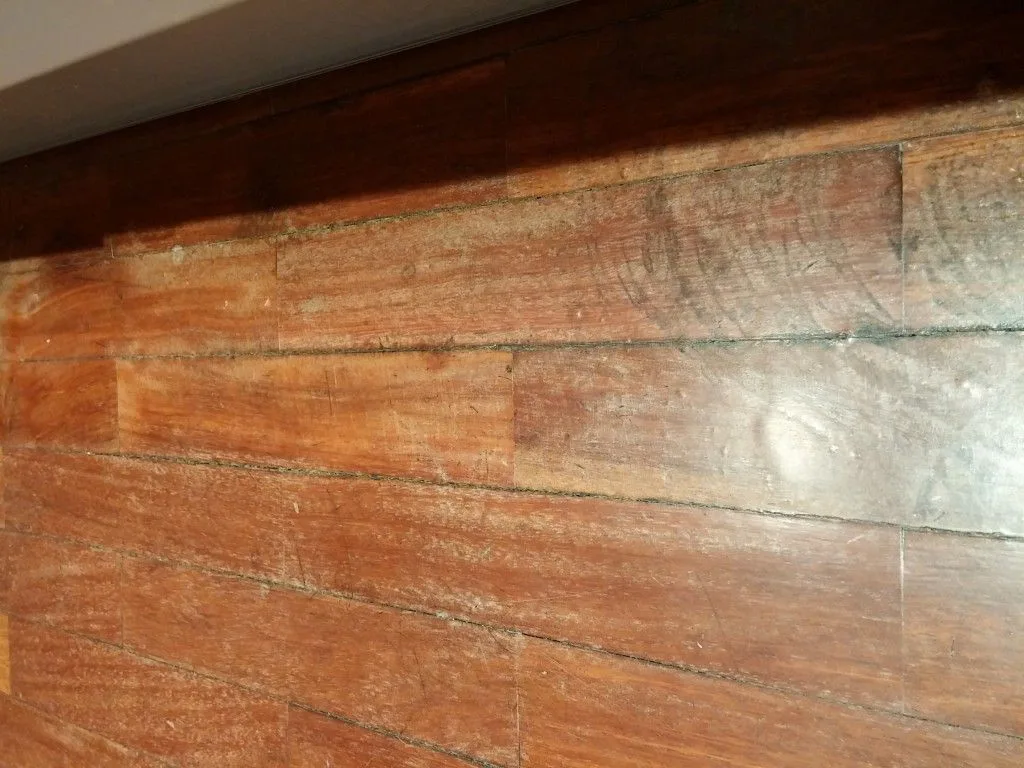
Filling a crack is not always restoring. If the joint is too wide, if the wood moves or if the color does not match, the filler ends up looking like a scar.
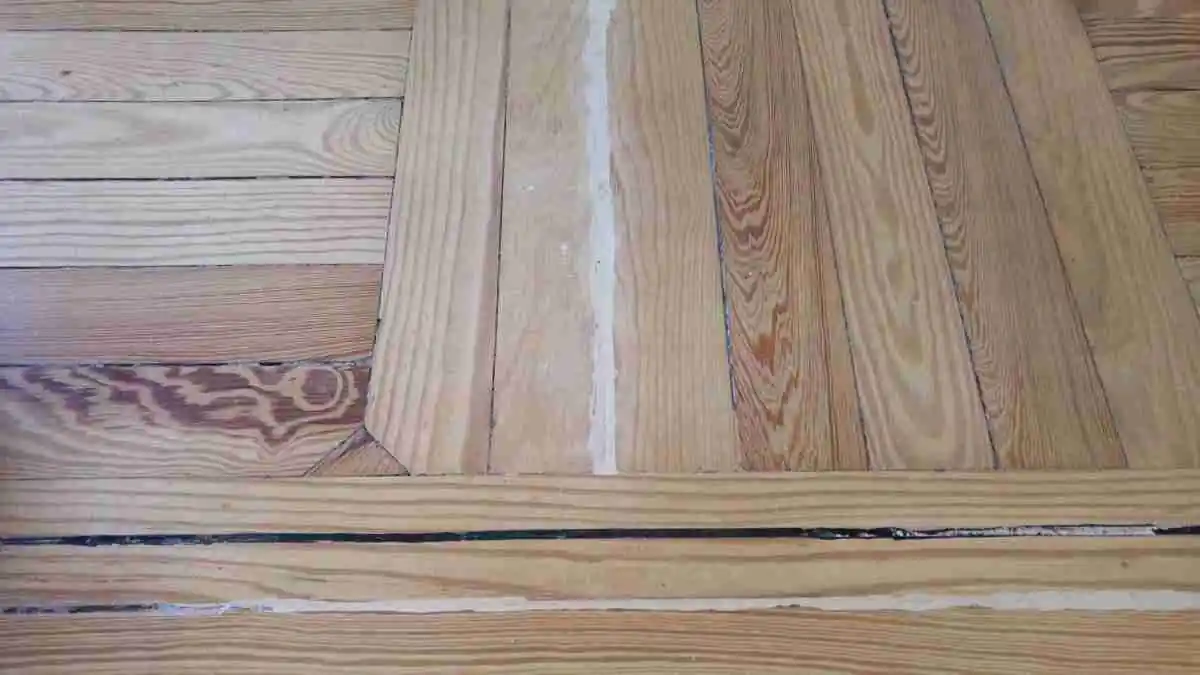
On old board floors, especially pitch pine, you have to assess thickness, tongue and groove, board length and the availability of compatible wood. Old pitch pine needs a different reading from a modern floating floor.


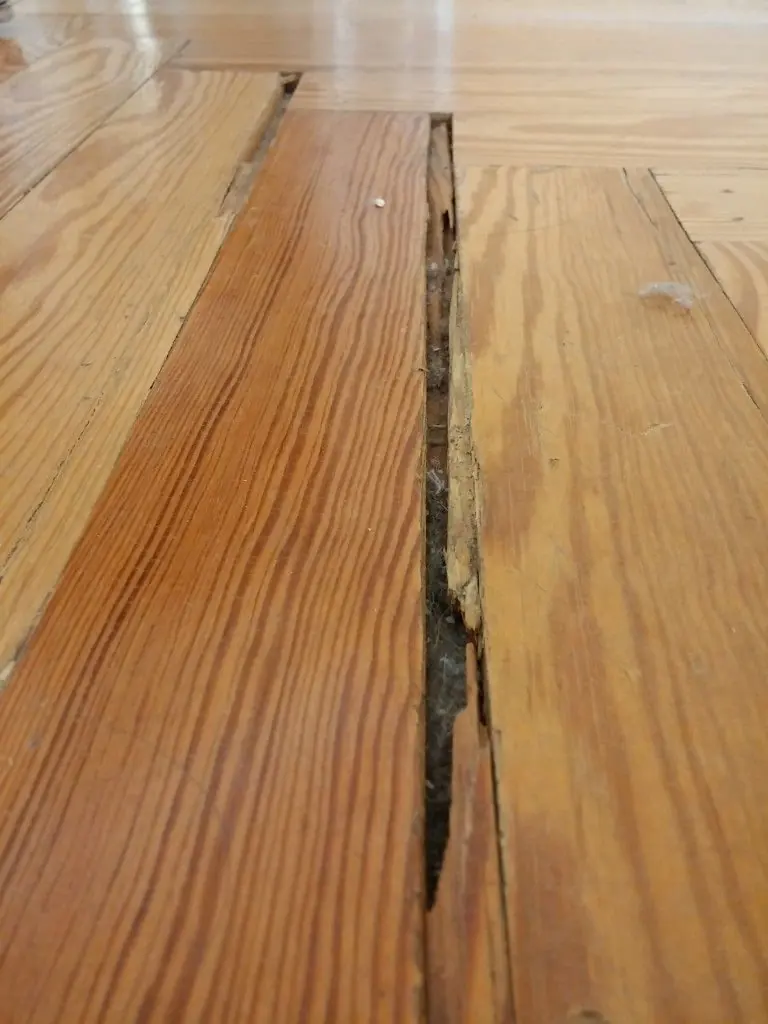
8. Faulty finishing: waves, brush marks and reactions
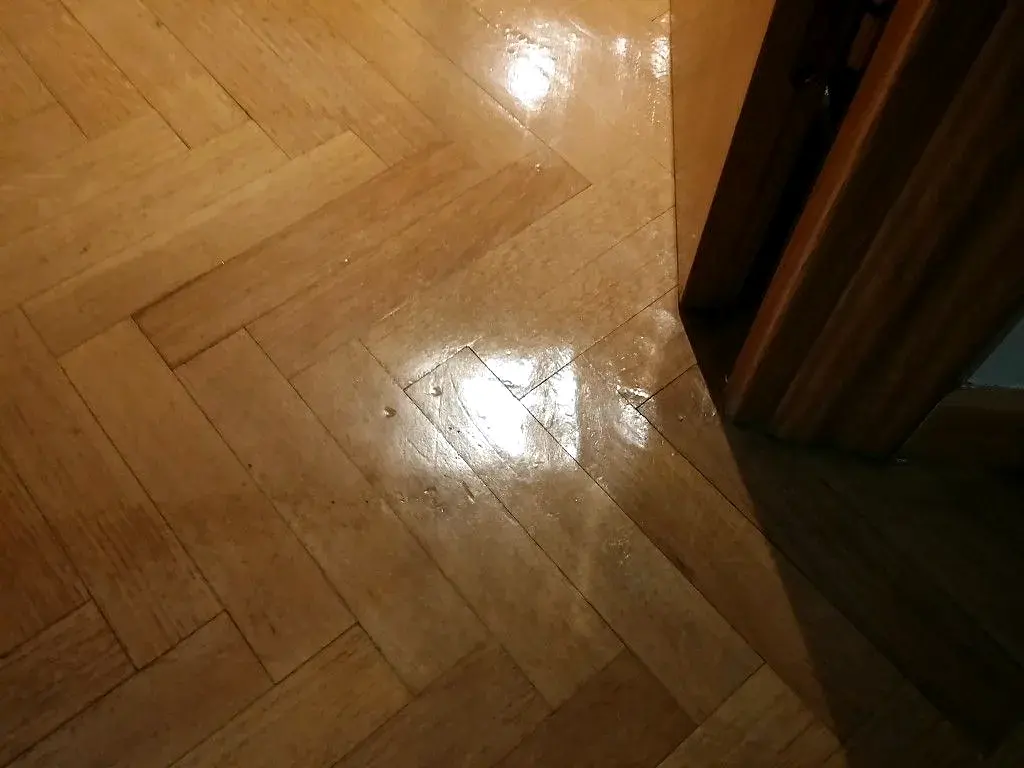
A good finish applied badly can fail. Build-ups, poor spreading, contamination, poor priming, dust, moisture or wrong timing can leave waves, orange peel, whitish areas or lack of adhesion.
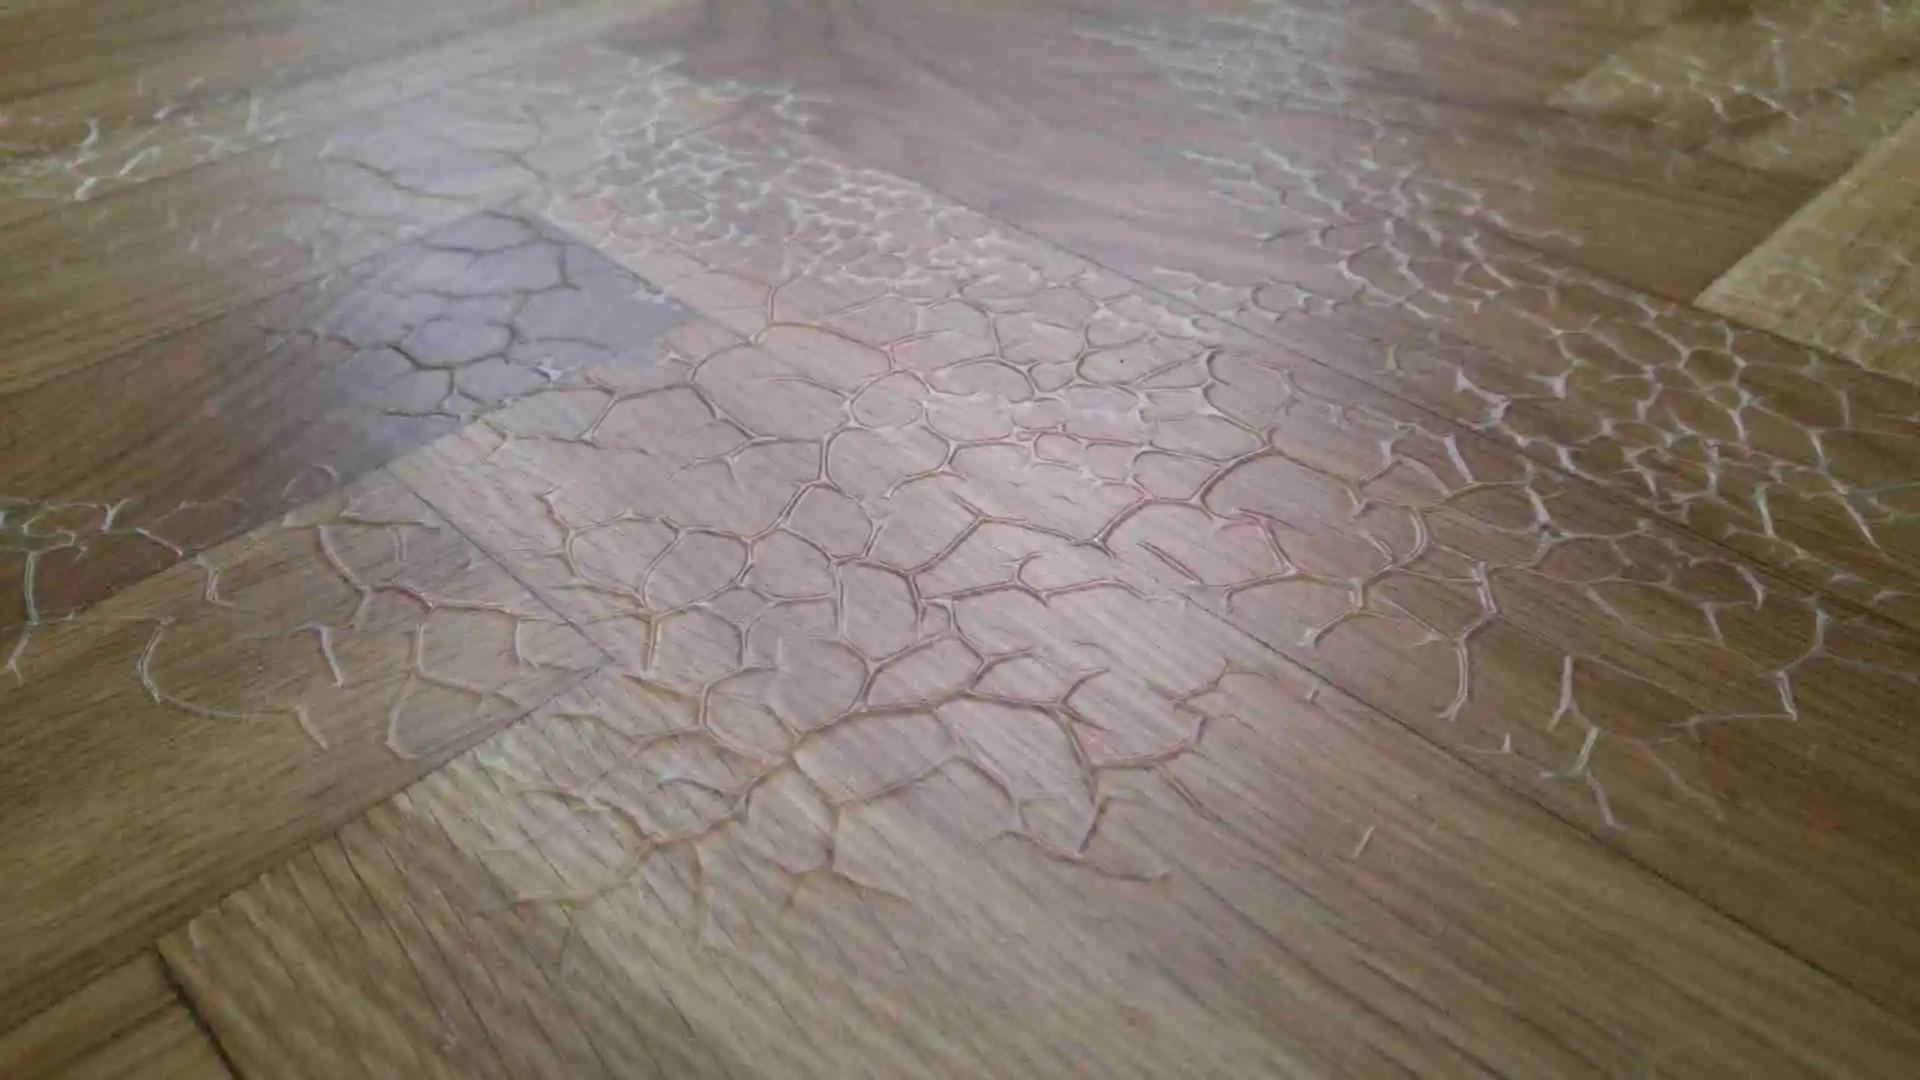
Comparing products matters, but it does not replace the protocol. To choose a system, it is worth reviewing waterborne finish versus traditional finishes and the guide to high-resistance finishes.


9. Lack of protection during building work
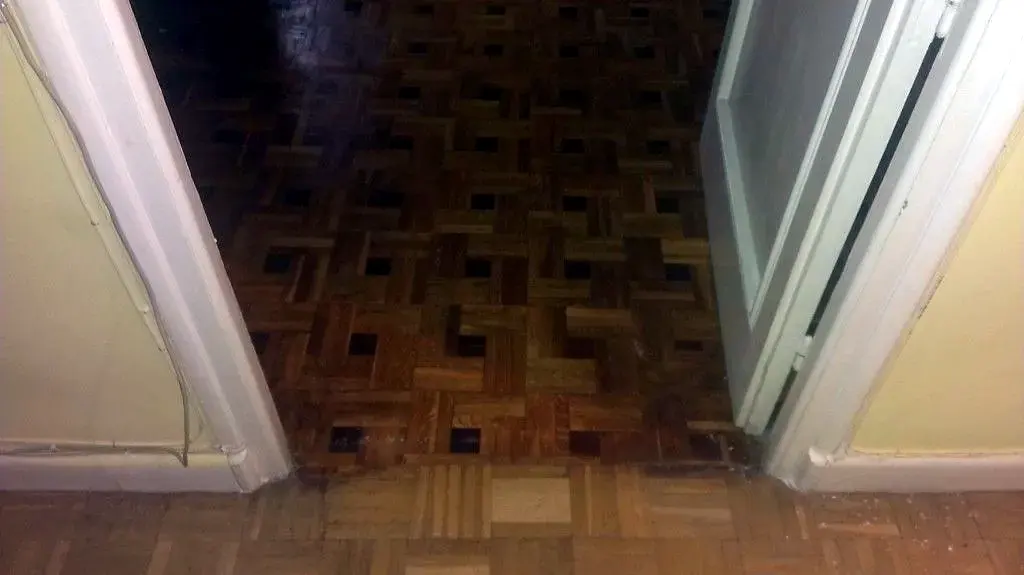
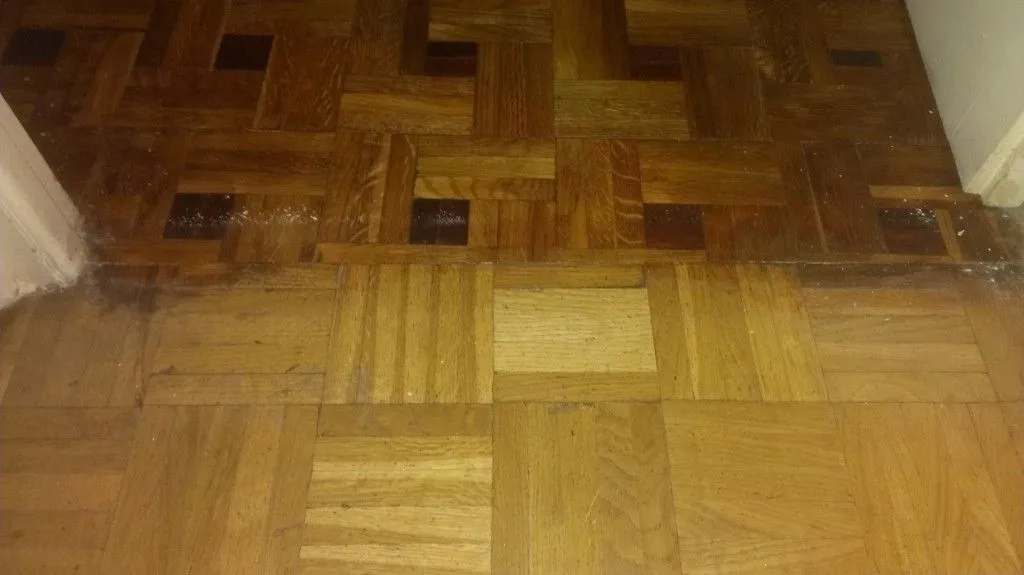
A parquet floor can survive for decades and be scarred in a single week of building work. Plaster, cement, moisture, knocks, scuffs and alkaline residue can affect the wood and the finish.
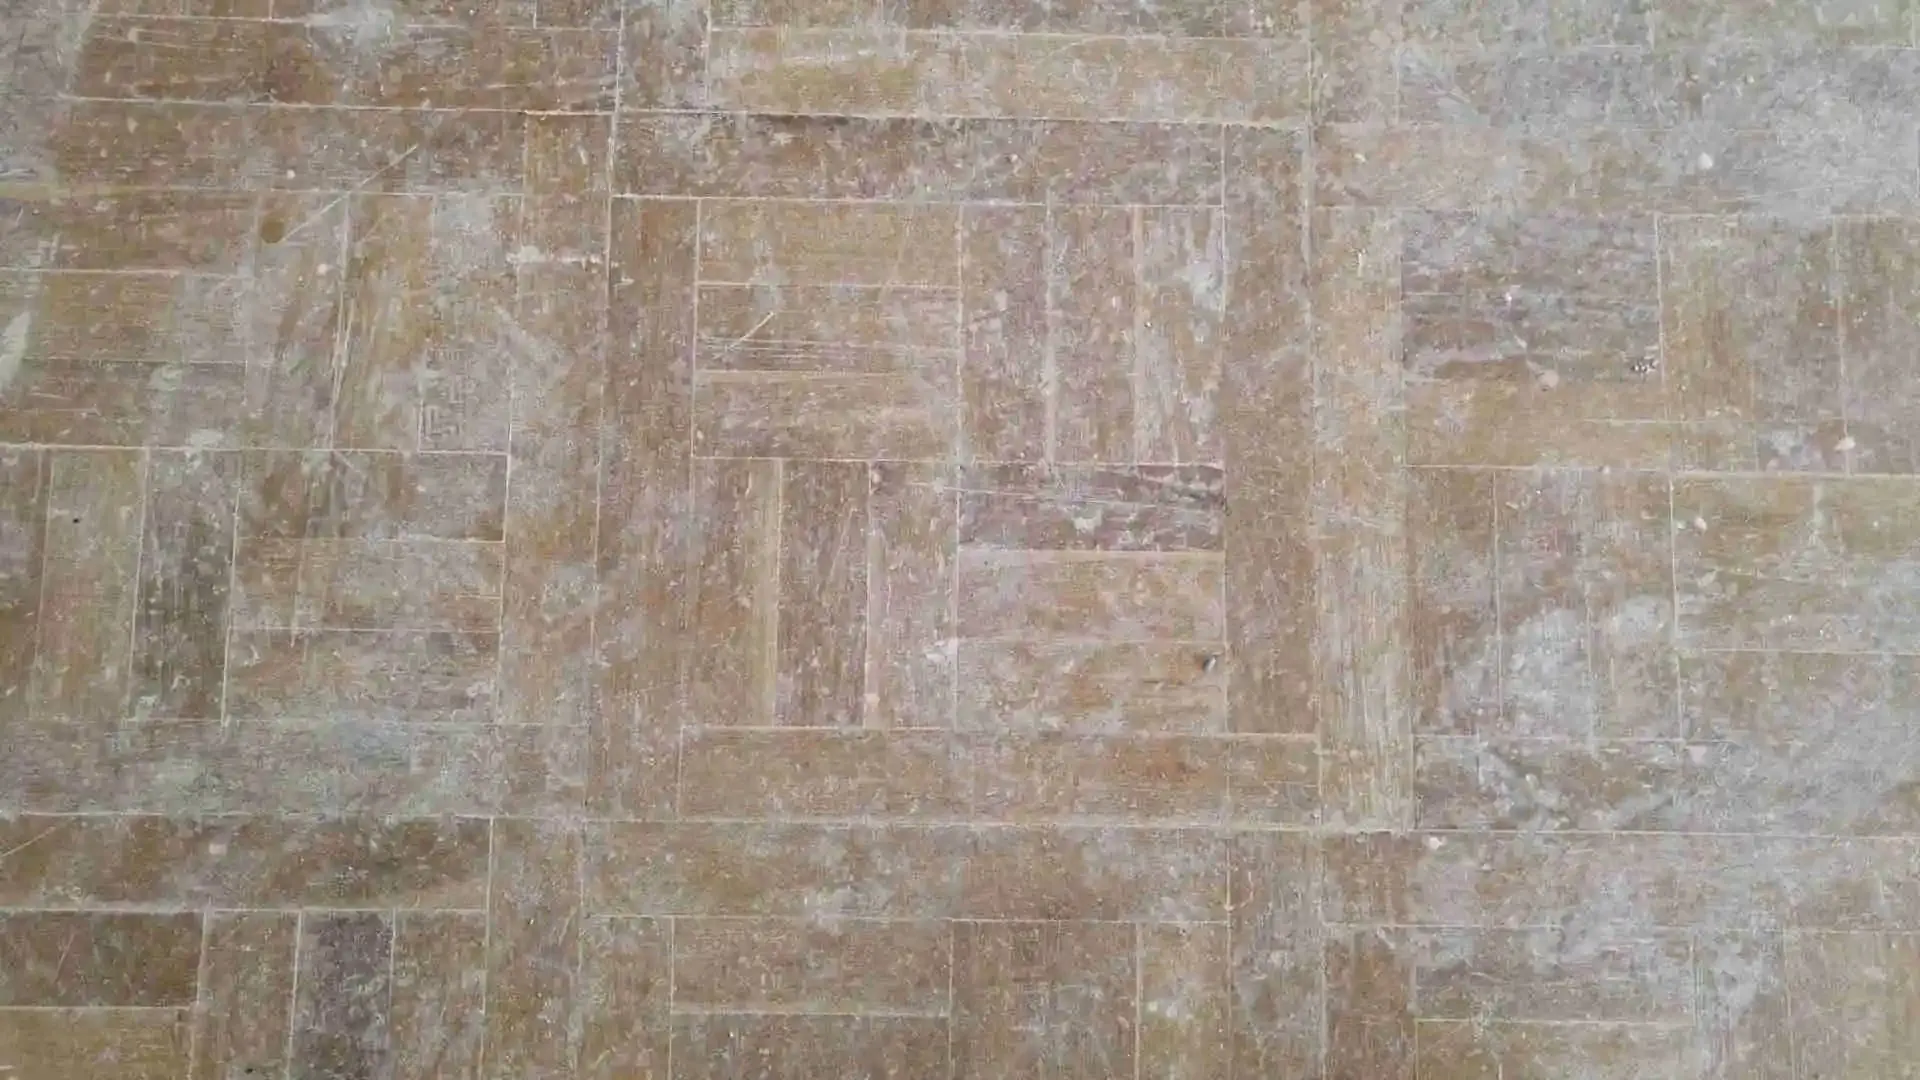
If there is painting, wall demolition or a renovation, the sequence matters. The article on sanding and painting helps order the work so damage is not repeated.
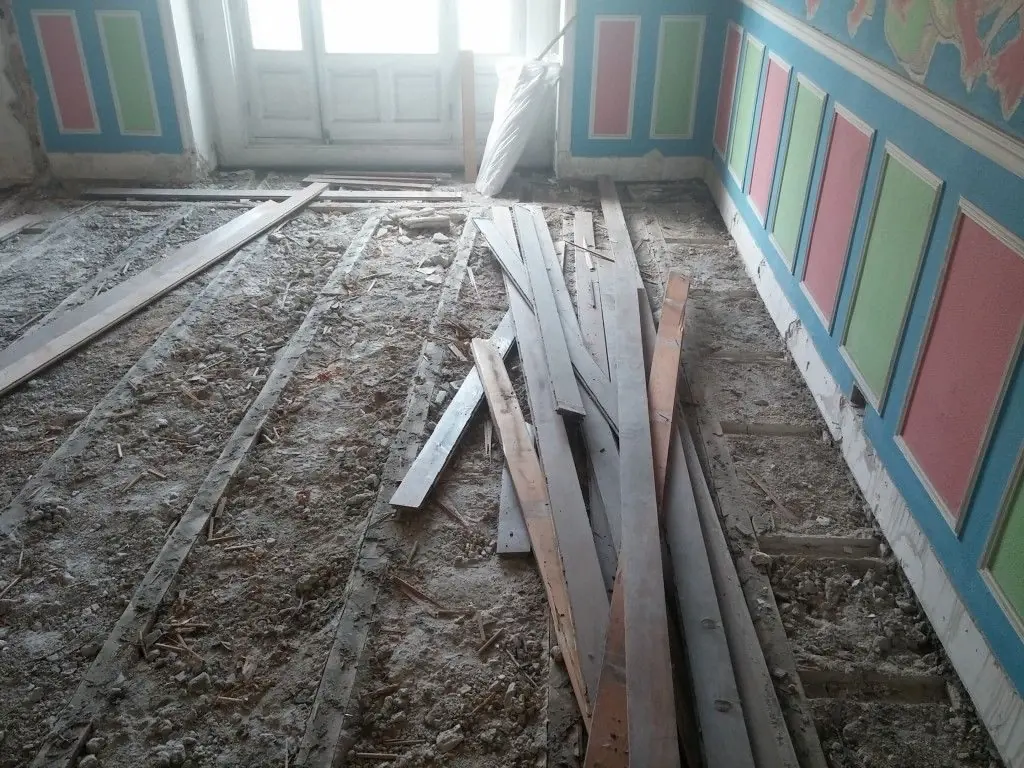
10. Removing valuable wood without a diagnosis
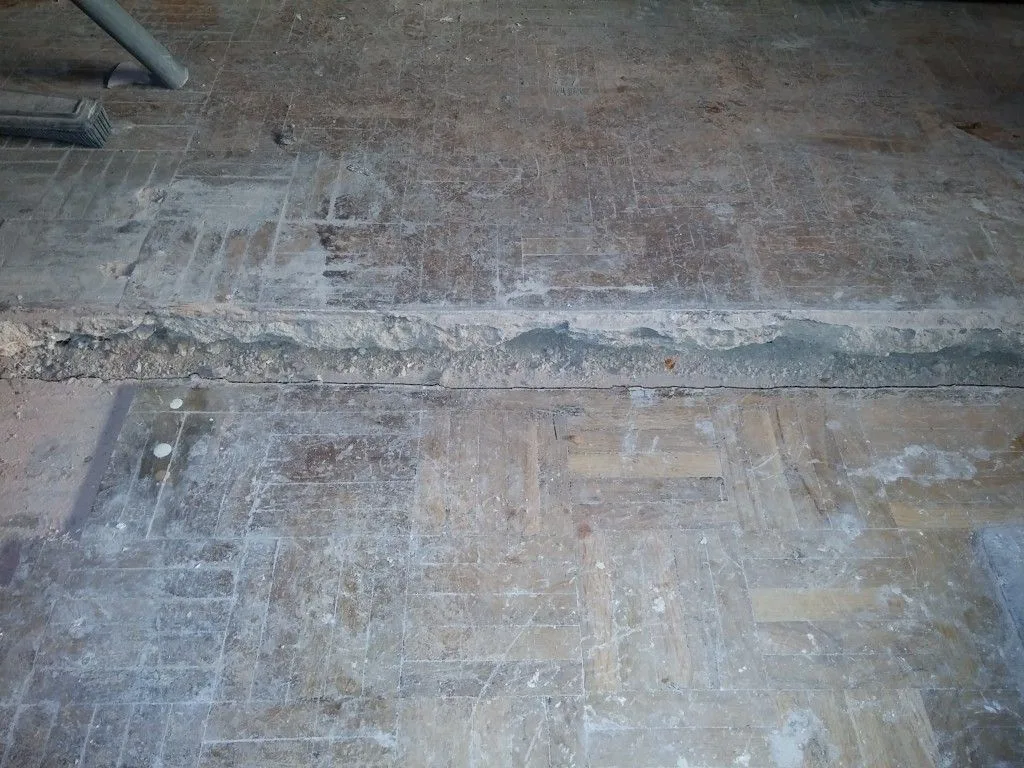
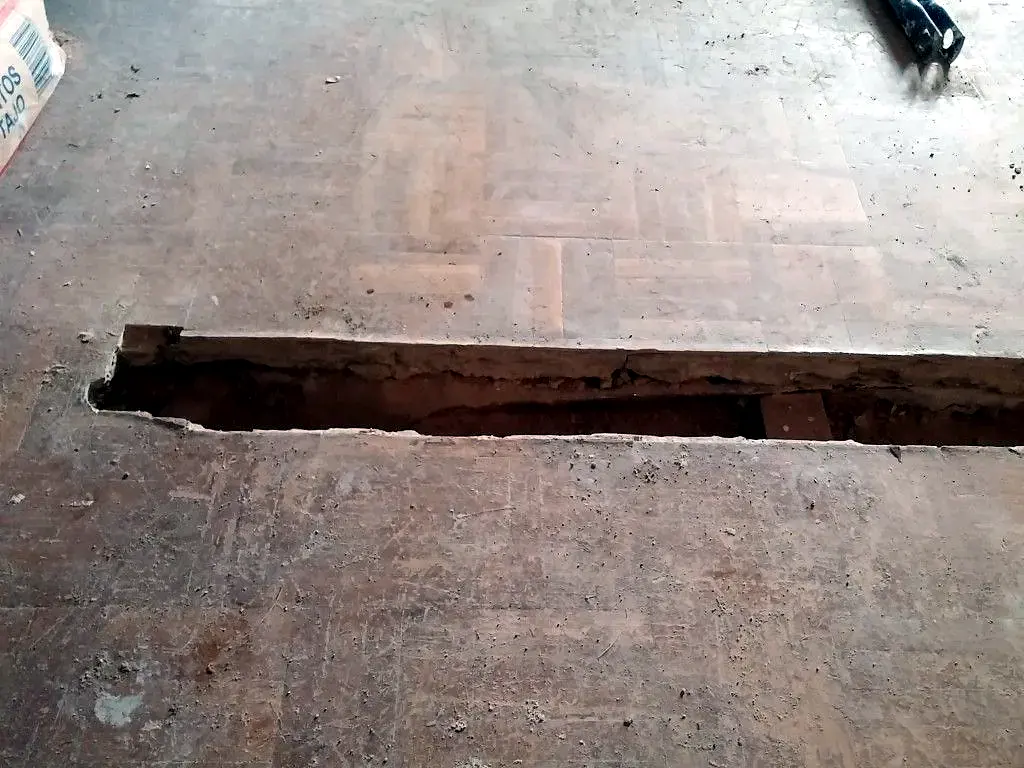
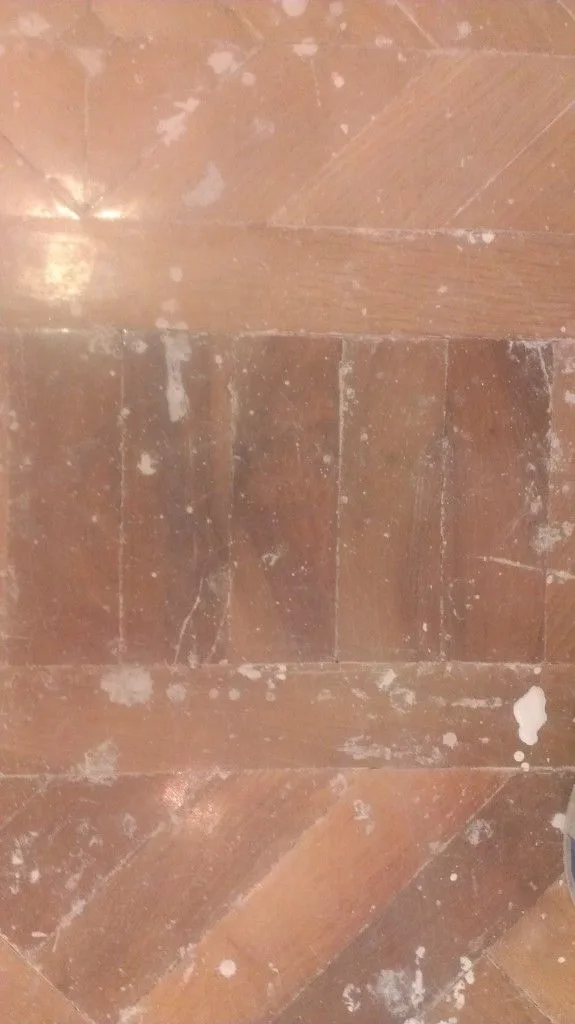
One of the worst mistakes is not a stain but throwing away a floor that could be saved. In quality old board floors, the value lies in the section, the length, the stability and wood that can no longer be bought the same.
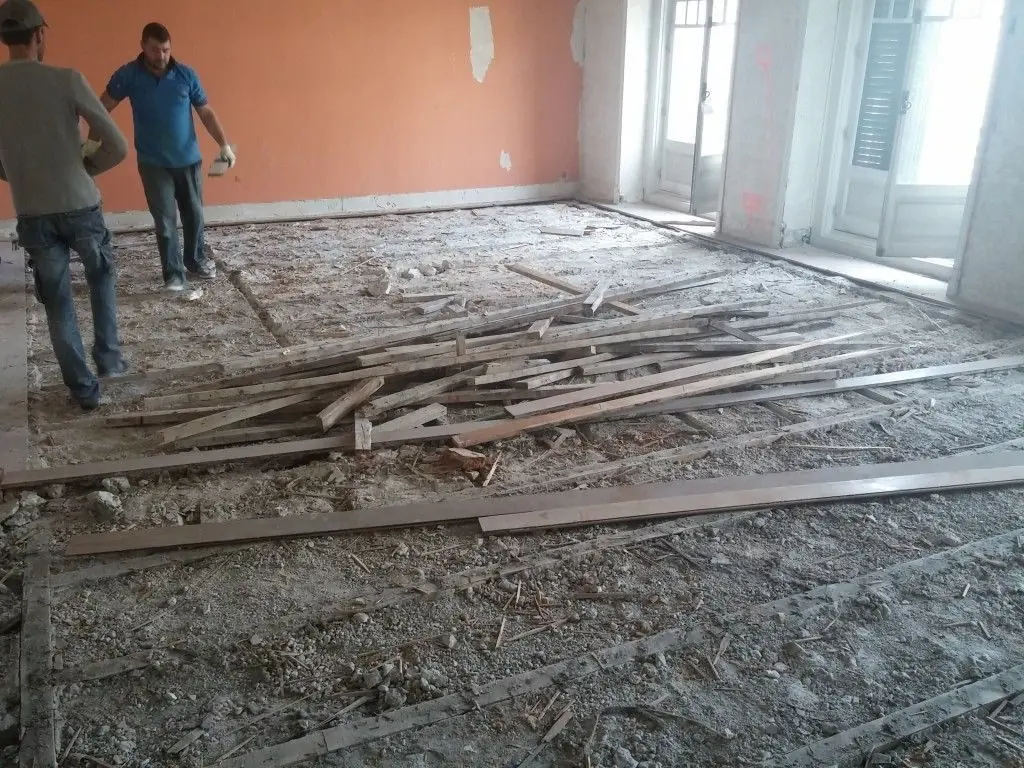
Replacement is sometimes necessary. What it should not be is the first answer when there is thickness, stability and a fine or historic wood.
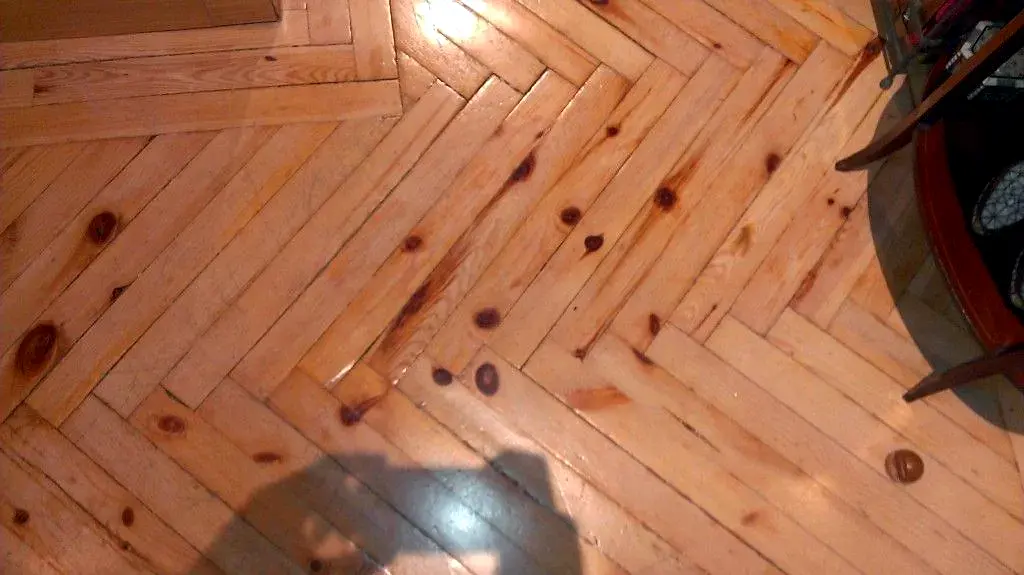

11. DIY repairs on valuable floors
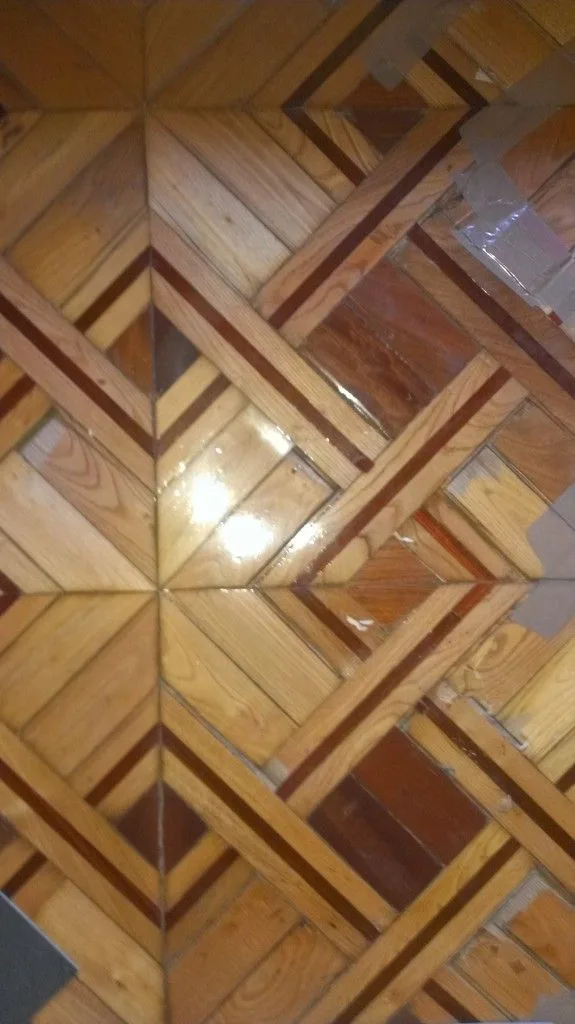
Tape, silicones, hard fillers, unsuitable glues and quick patches usually complicate the later restoration. What looks like a temporary fix can tear out fibers, contaminate the wood or prevent clean adhesion.
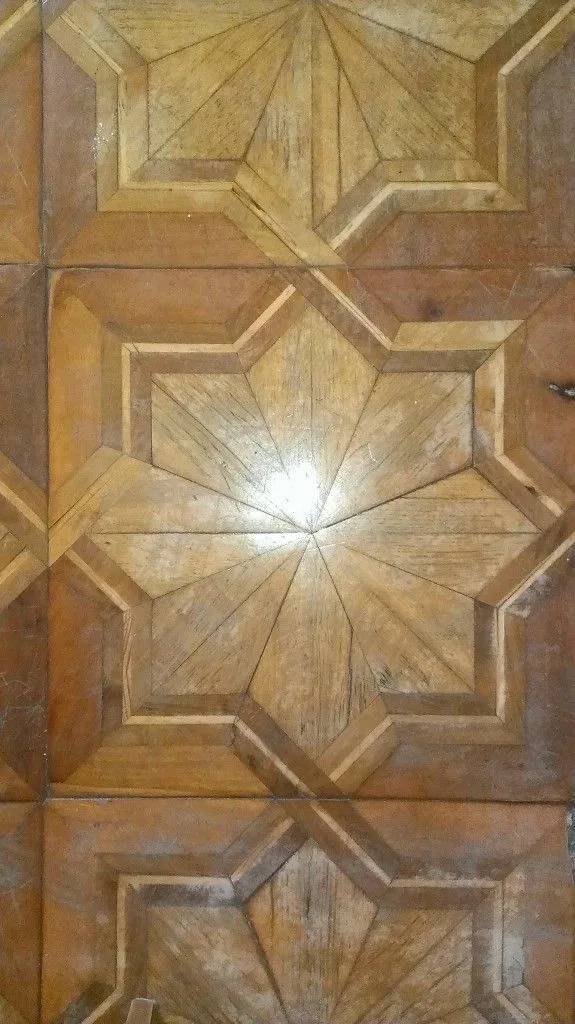
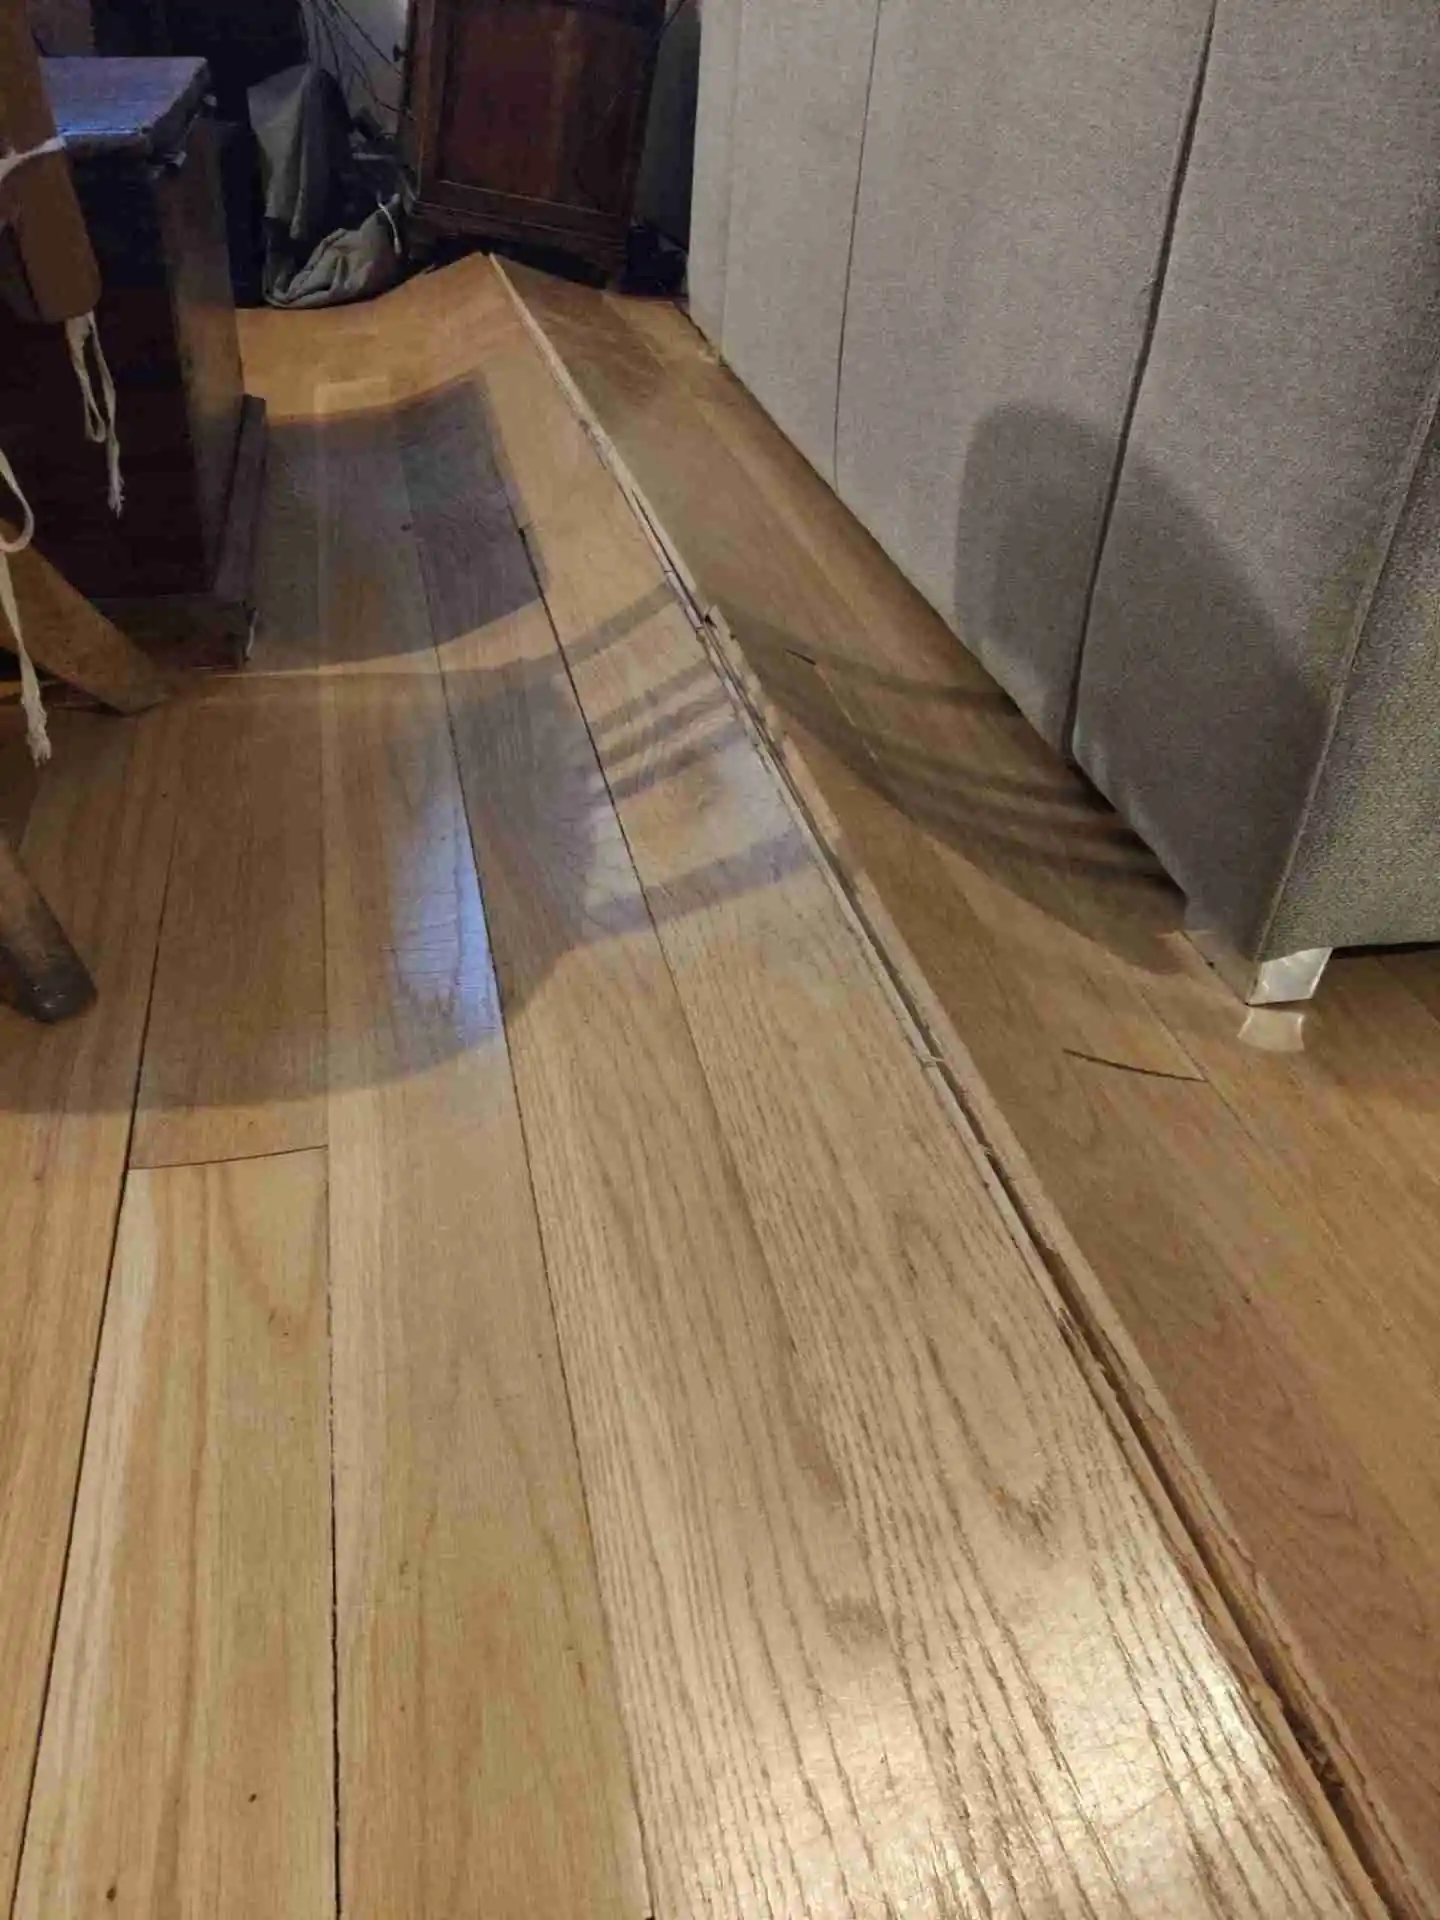
12. Closed perimeter gap: the board floor that lifts
Wood changes size with the humidity of the air: it swells when humidity rises and shrinks when it falls. That is why UNE 56810 calls for a perimeter expansion gap of 0.15% of the room’s width, hidden under the baseboard.
If the boards are laid tight against the wall, when humidity rises they have nowhere to go and the floor lifts. The remedy is to remove the baseboard and open the gap before the tongues and grooves break.
What to do if your floor looks like one of these cases
The prudent course is not to decide from a photo. The wood, usable thickness, moisture, stability of the pieces, existing finish and the client’s goal all need checking. Sometimes sanding and refinishing is enough; other times you have to repair, wait, replace pieces or leave it alone until the origin of the problem is clear.
If the floor is stained, whitish, lifting or badly finished, we look at it on site. Depending on what we find, it is best to sand the parquet, recoat or work by areas.
Frequently asked questions
Can sanding marks be hidden by applying more coats of finish?
No. The finish is transparent and copies the surface beneath it; a new coat with sheen makes the unevenness show even more. The floor has to be sanded again to get it flat.
What should you do if a board floor starts lifting in the middle of the room?
Remove the baseboard and check whether the boards touch the wall. If there is no gap, it has to be opened to release the stress before the tongues and grooves break.
Parquet assessment and restoration in Madrid
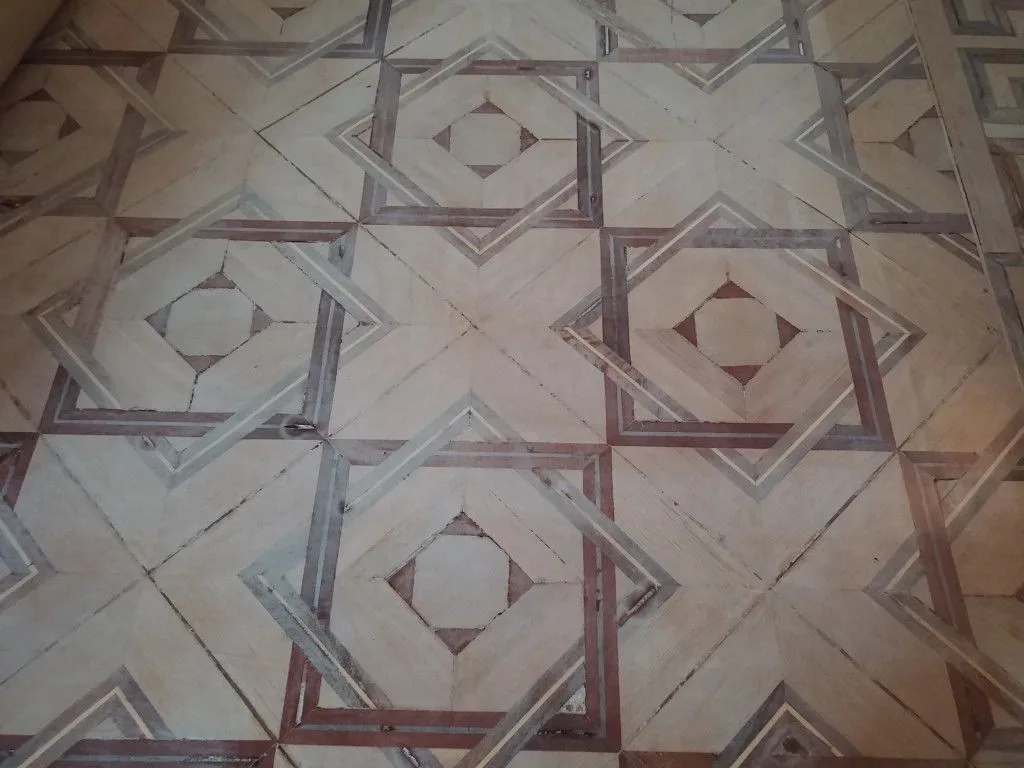
The assessment is done on site, before quoting: what is failing, whether it comes from the wood, the subfloor or the finish, and whether it can be restored. A similar case: restoration of the marquetry on Calle María de Molina.